The anatomy of a smart bulb
I’ve been having some troubles with Zigbee. Yes, at our airbnb we have a rather big dining room where I’ve put 7 Zigbee RGBWW Smart bulbs. The problem is that each time I try to turn all 7 on or off there’s either a lag or some of them just won’t switch on or off. The controller is a Sonoff Zigbee 3.0 USB dongle, yes the one with the antenna. But between these bulbs and the controller is a fairly big distance, one concreete and one stone wall.
You’re probably going to tell me that if I put some other non battery operated devices in between the problem should solve itself. Believe me I tried, I have an IKEA TRADFRI LED driver, an Aqara Smart Plug and a SilverCrest Smart Plug between the controller and the devices and the problem persists.
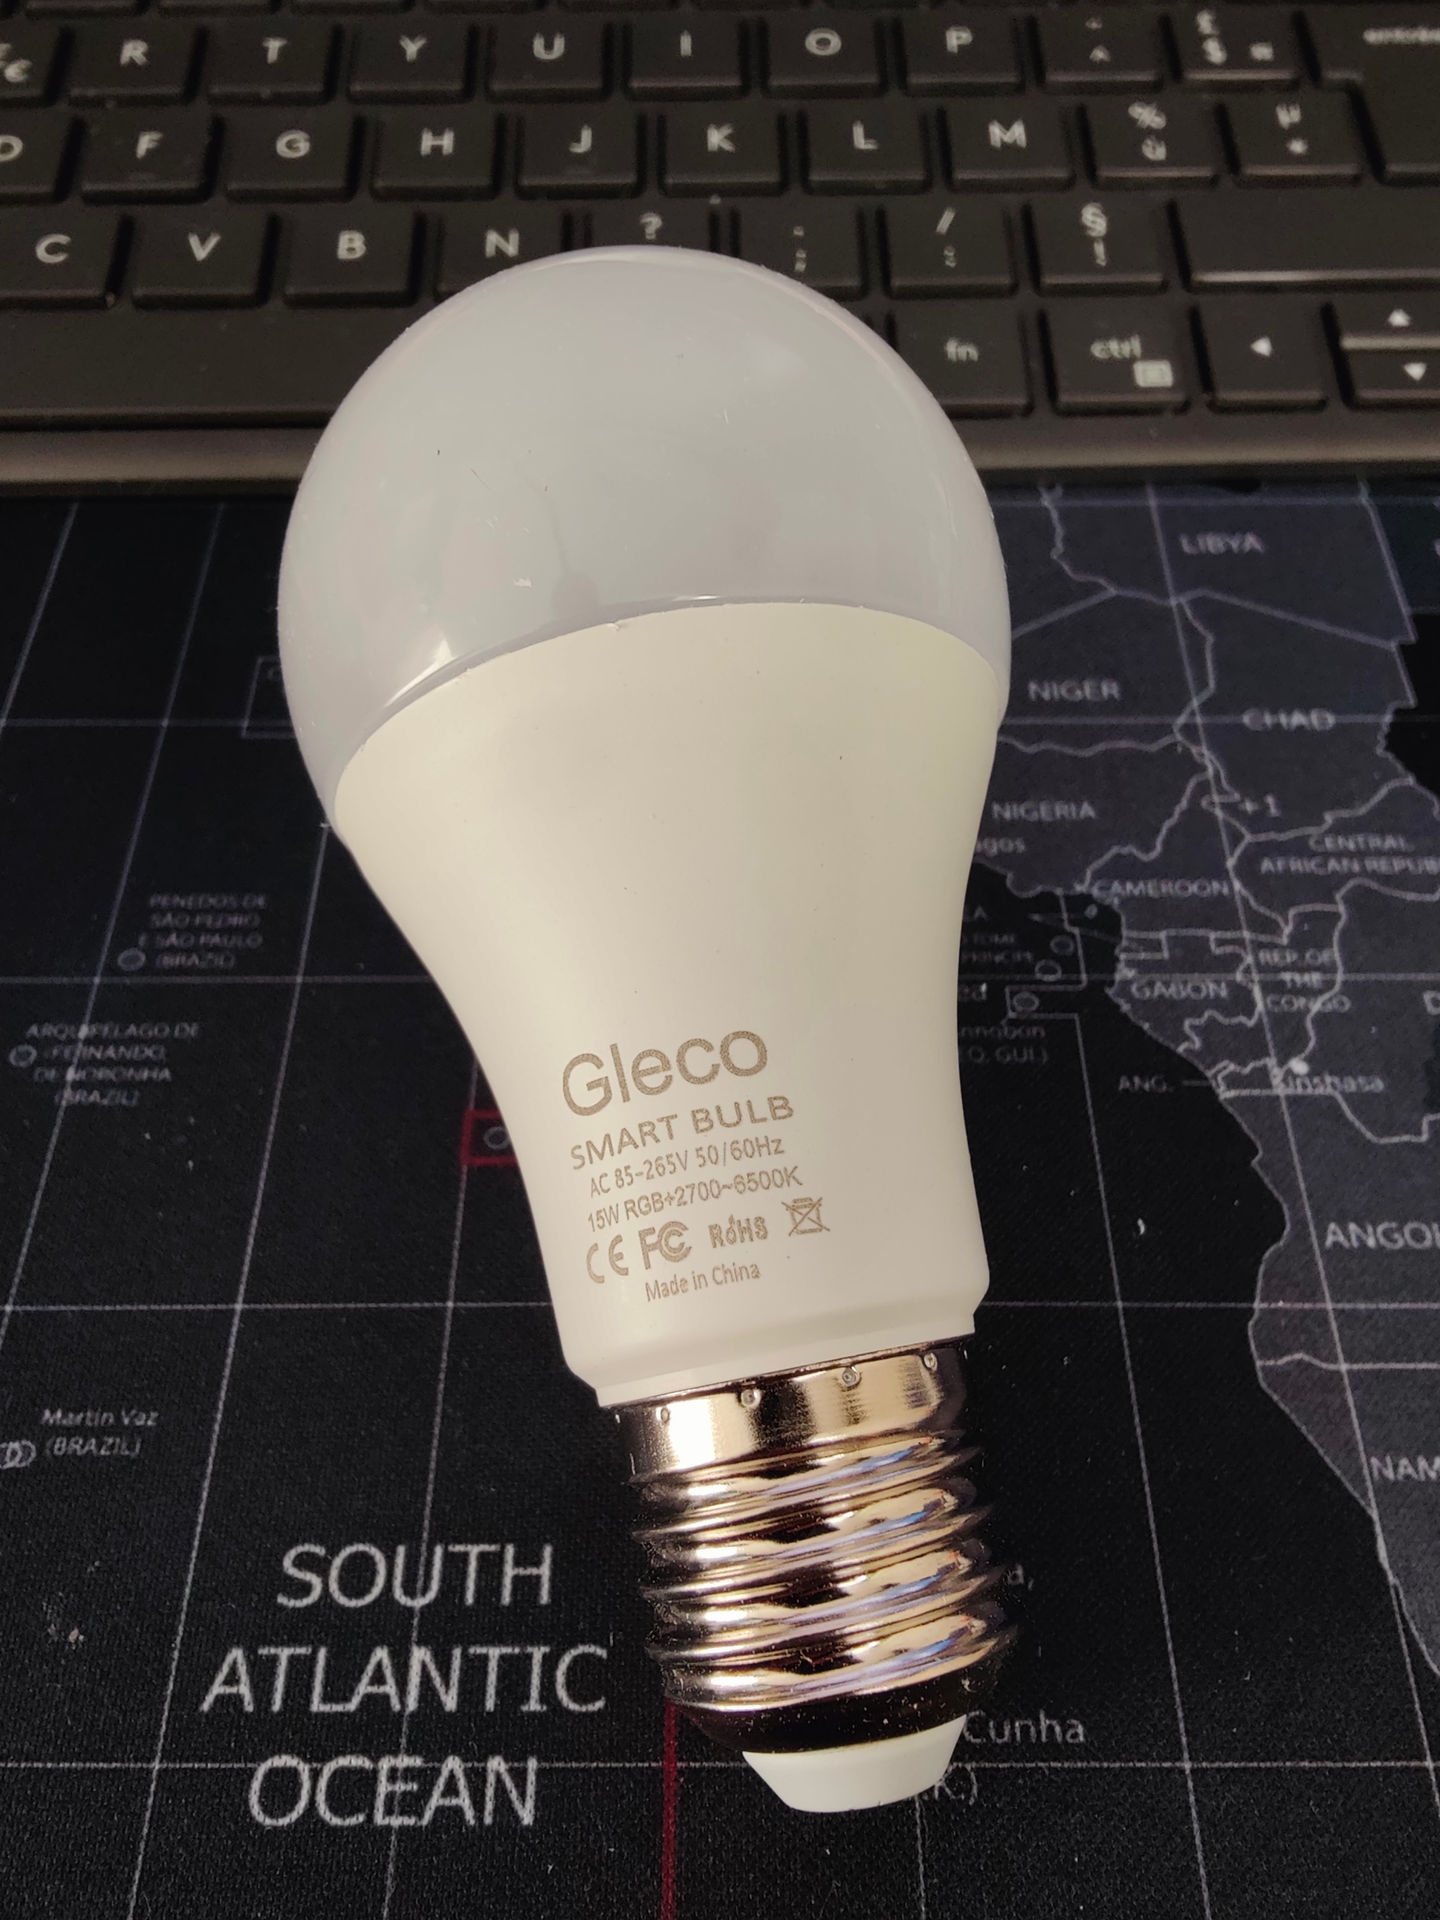
So I decided to go back to what I knew and works better, WiFi. And so I ordered a bunch of smart bulbs on AliExpress, on the cheap side. I know these bulbs come with a proprietary firmware that wants to connect to a Chinese cloud so I was sure of flashing them even before the order.
The package arrived and this is what I got:
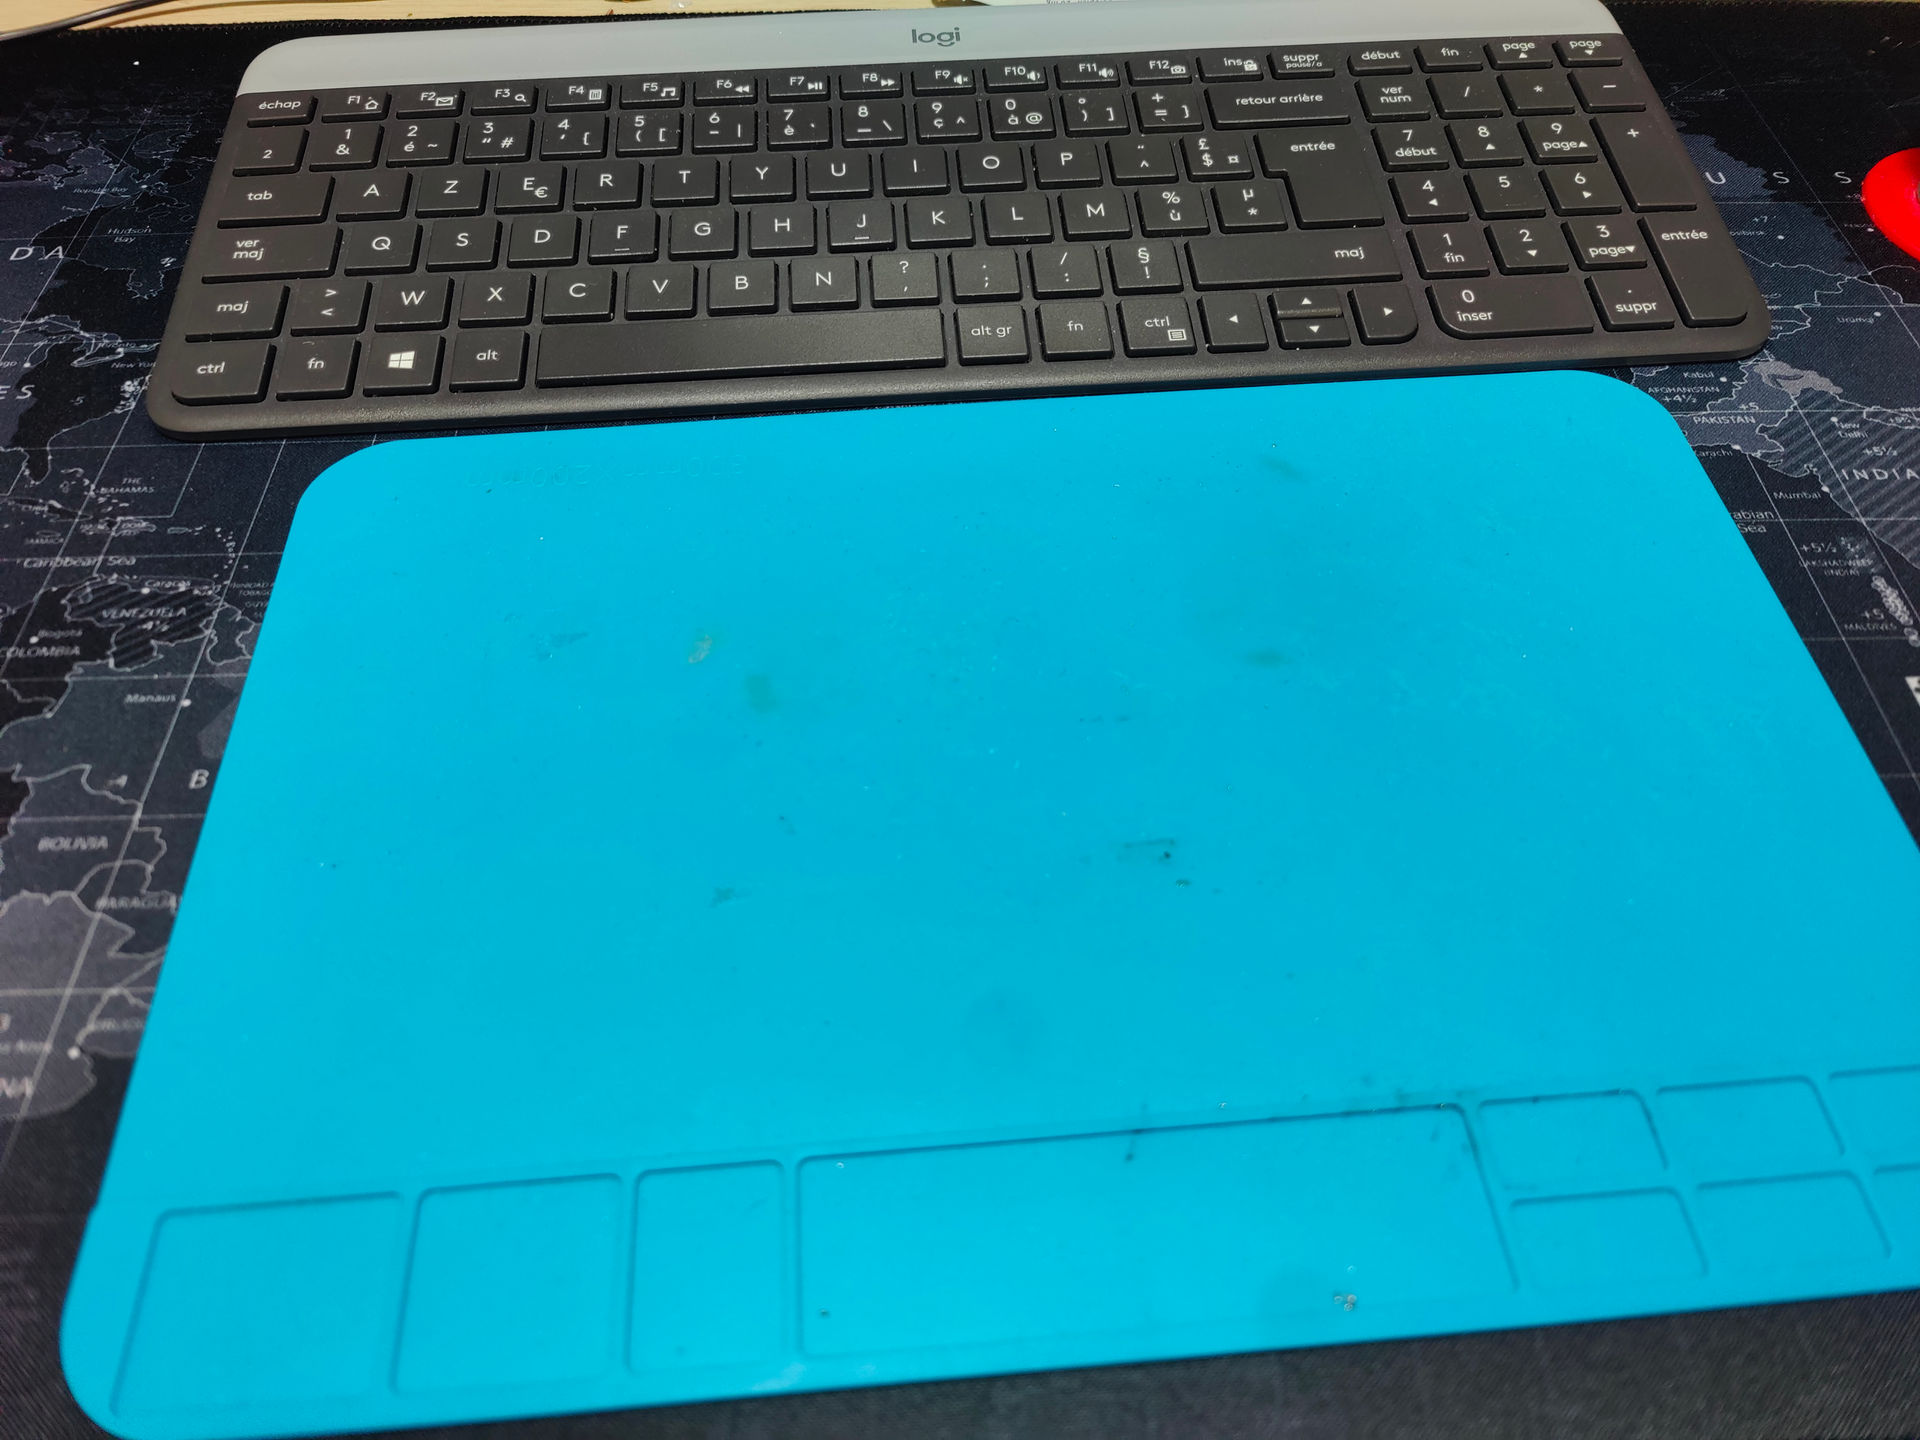
I’d like to present you some tools I used:
– a heat resisting mat
– a lamp to help me see better and connect the newly flashed bulb
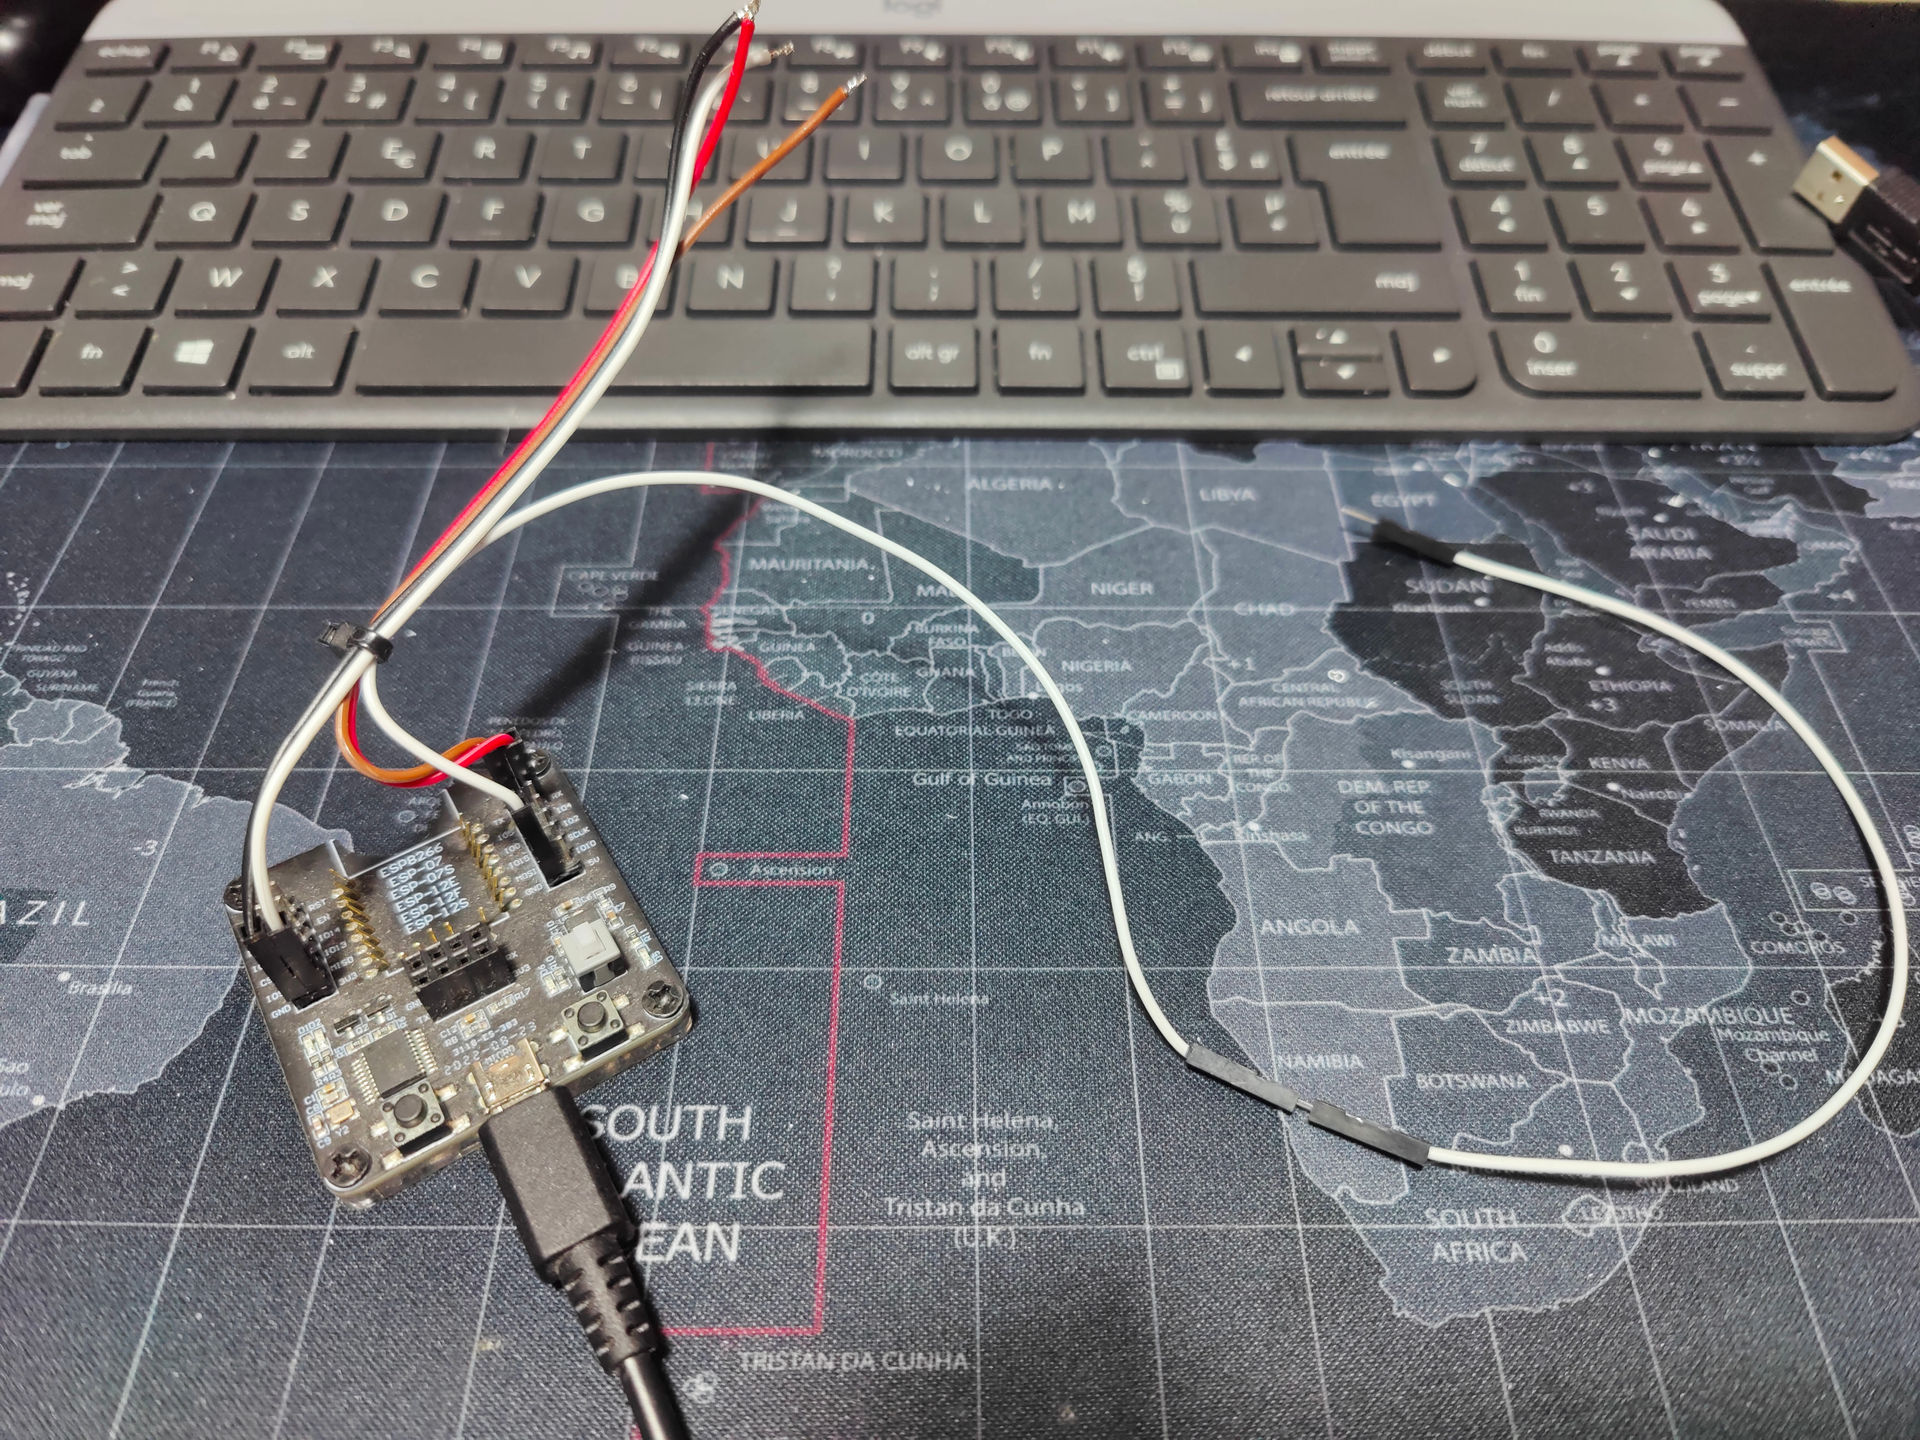
– a flashing jig / USB TTL Converter
– soldering Iron, low temperature melting solder and flux
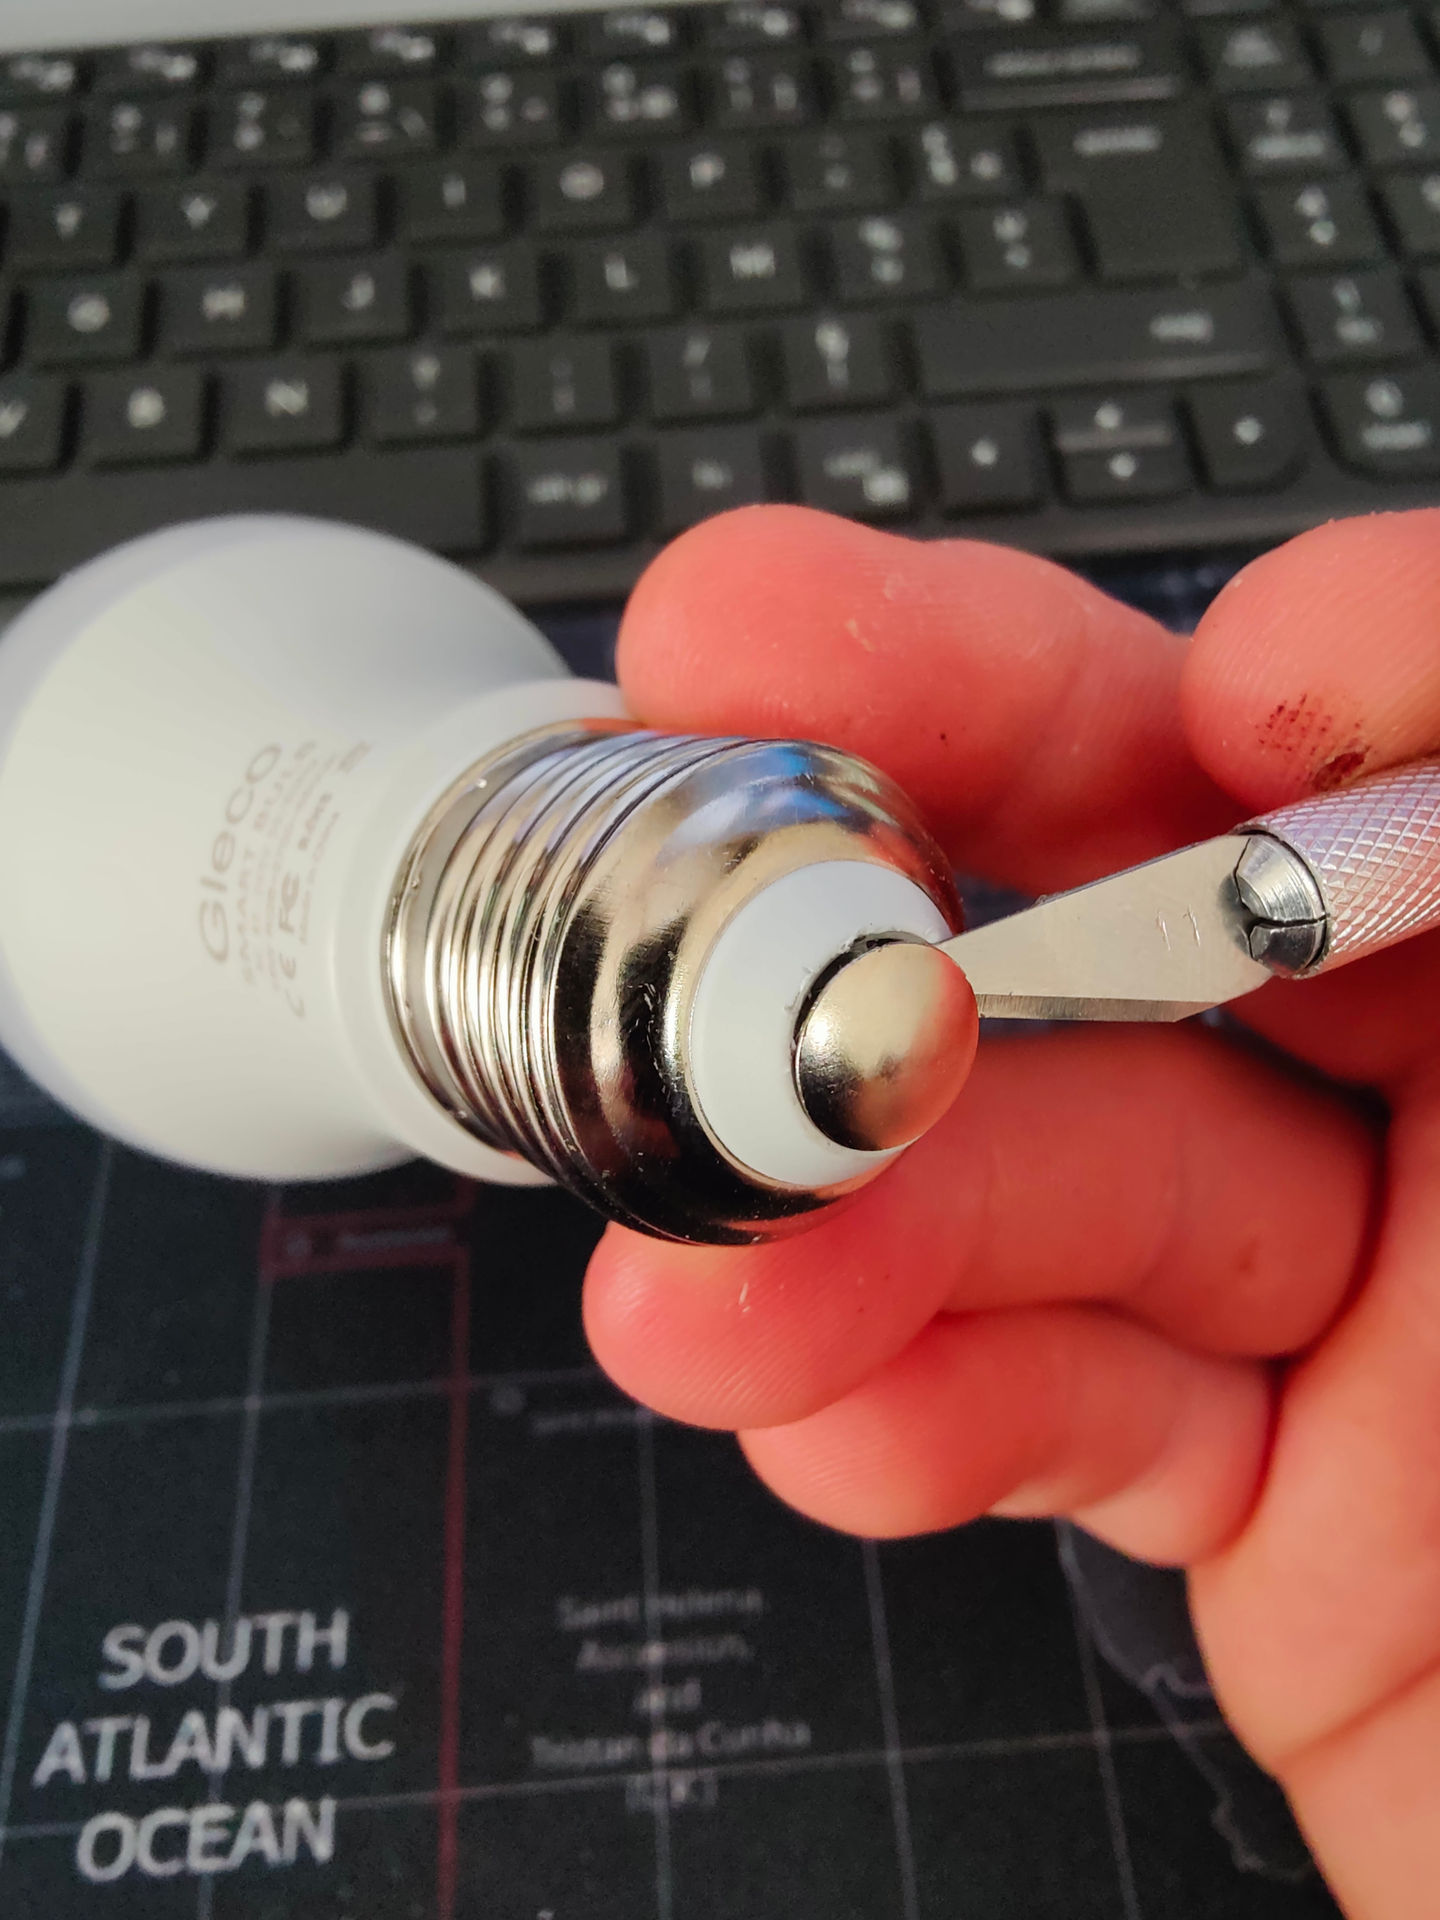
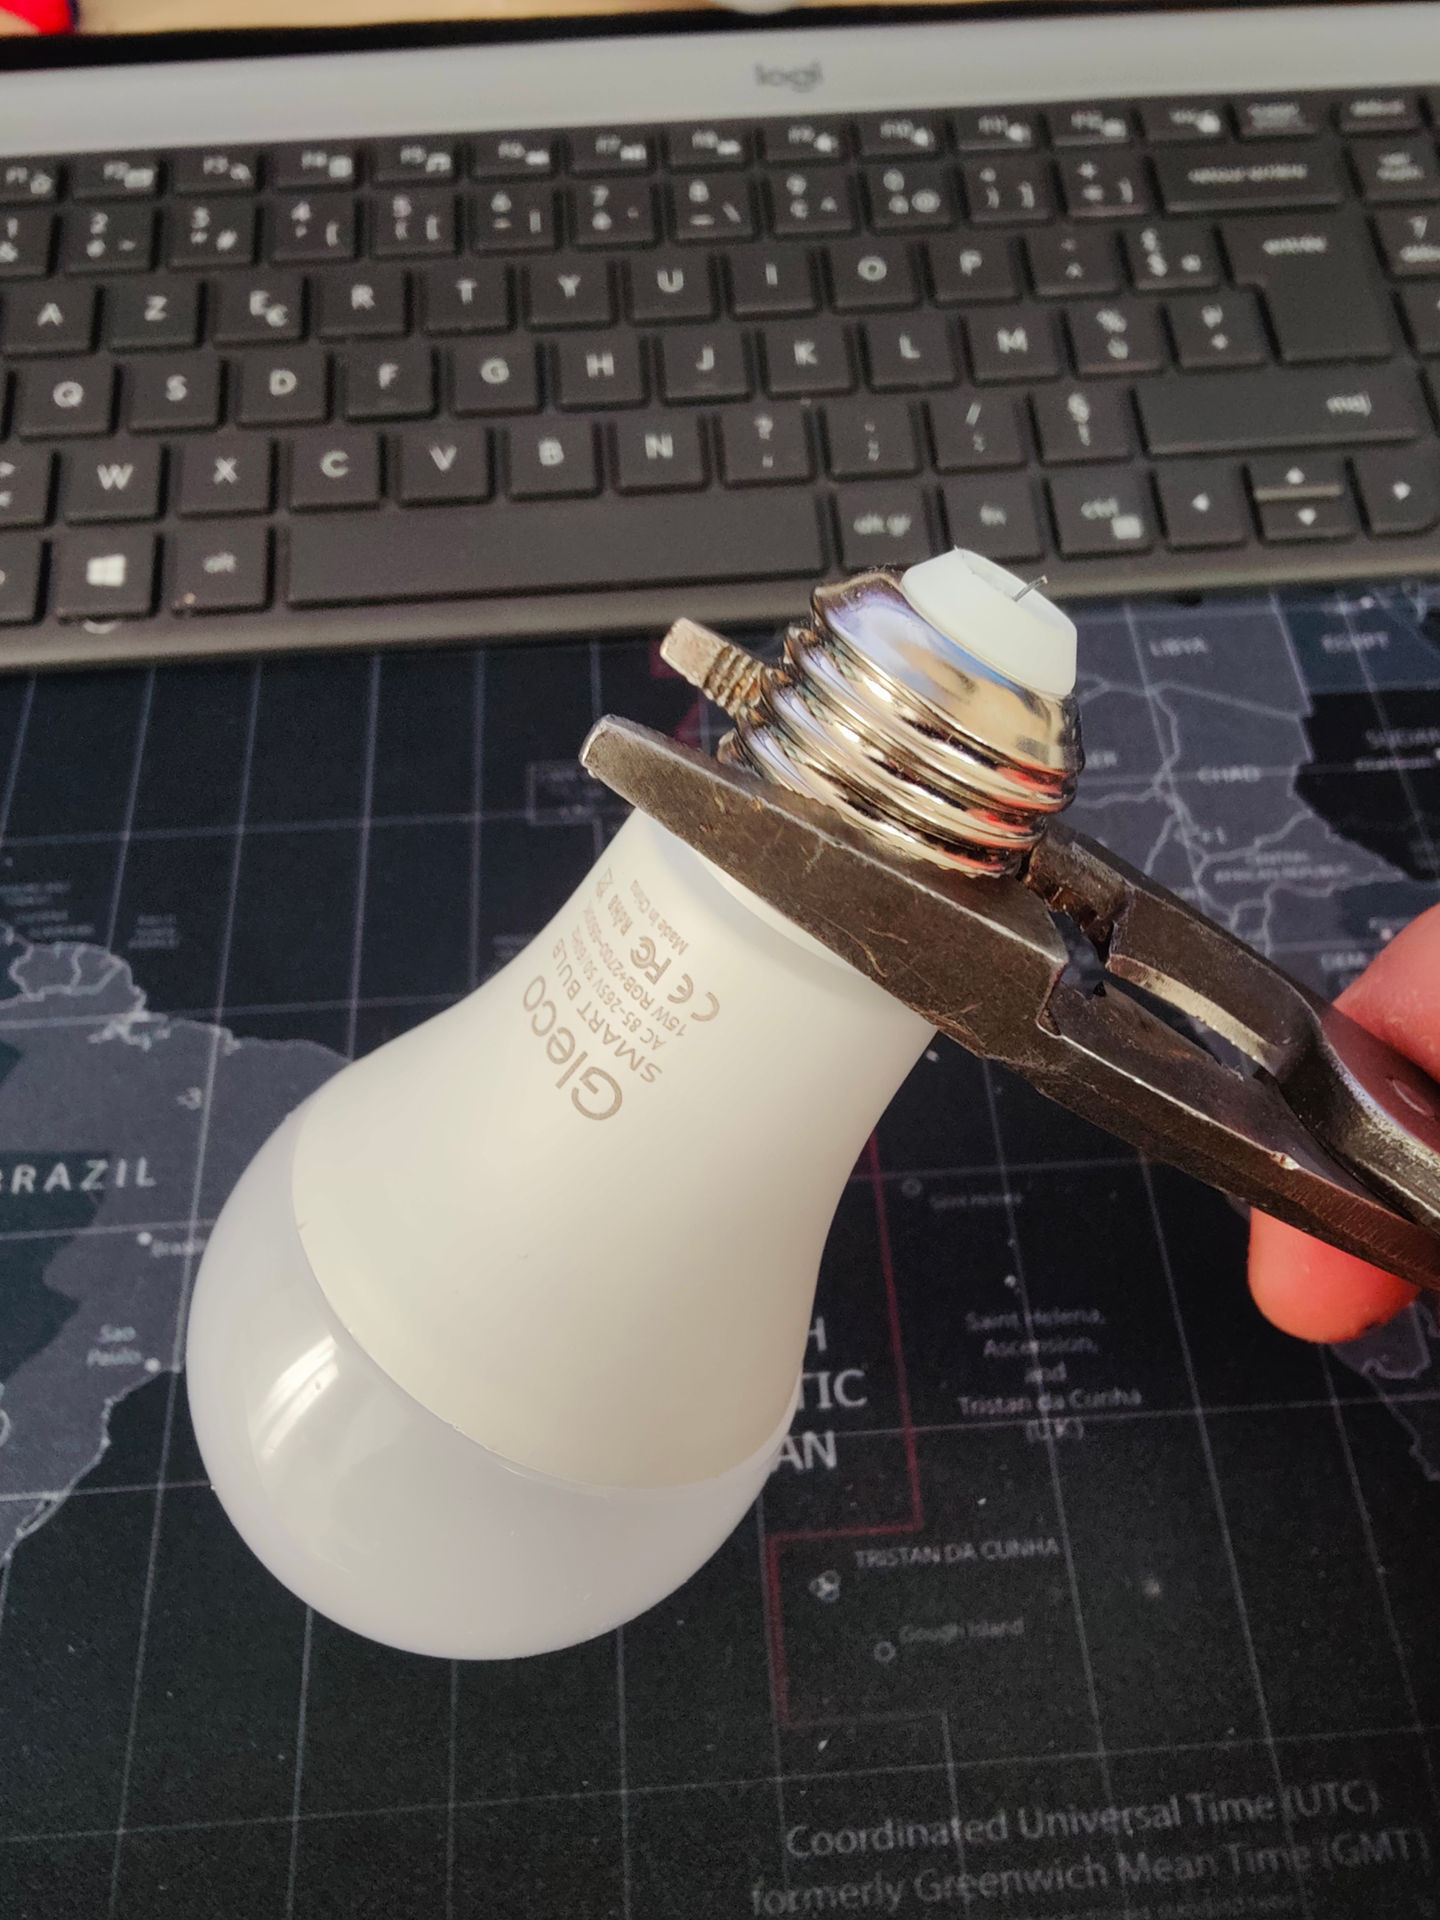
– pliers to remove the cap
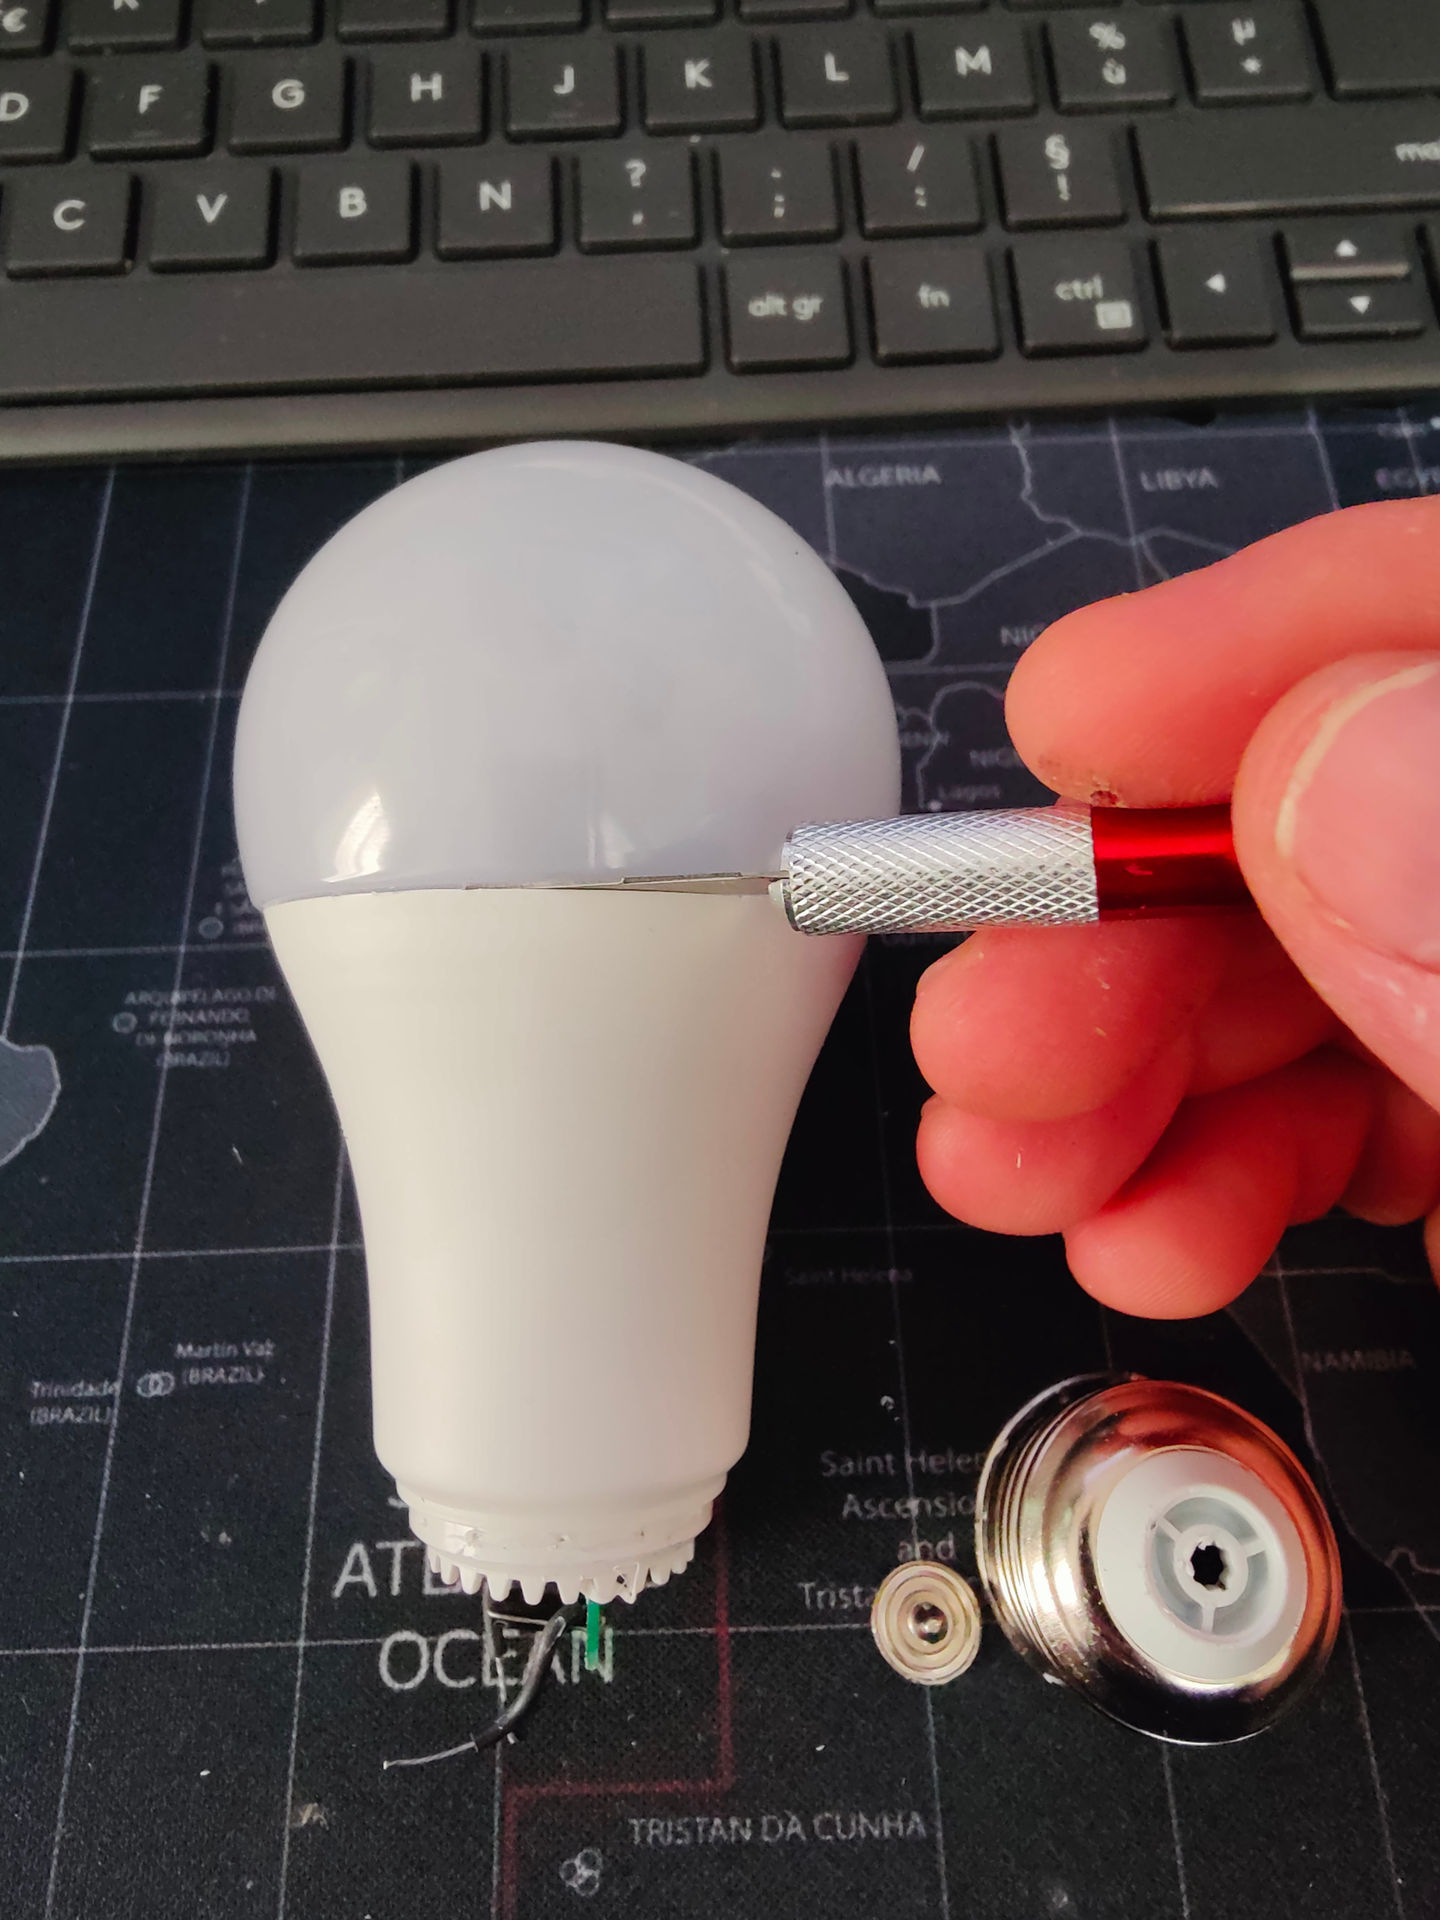
– scalpel
– isopropyl alcohool and an oid toothbrush


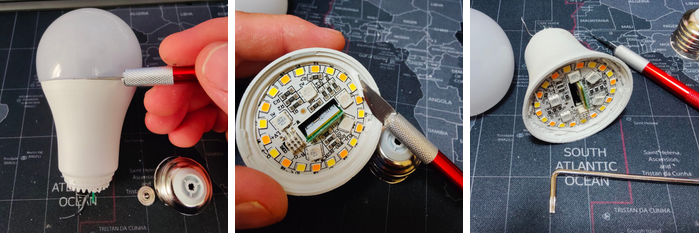
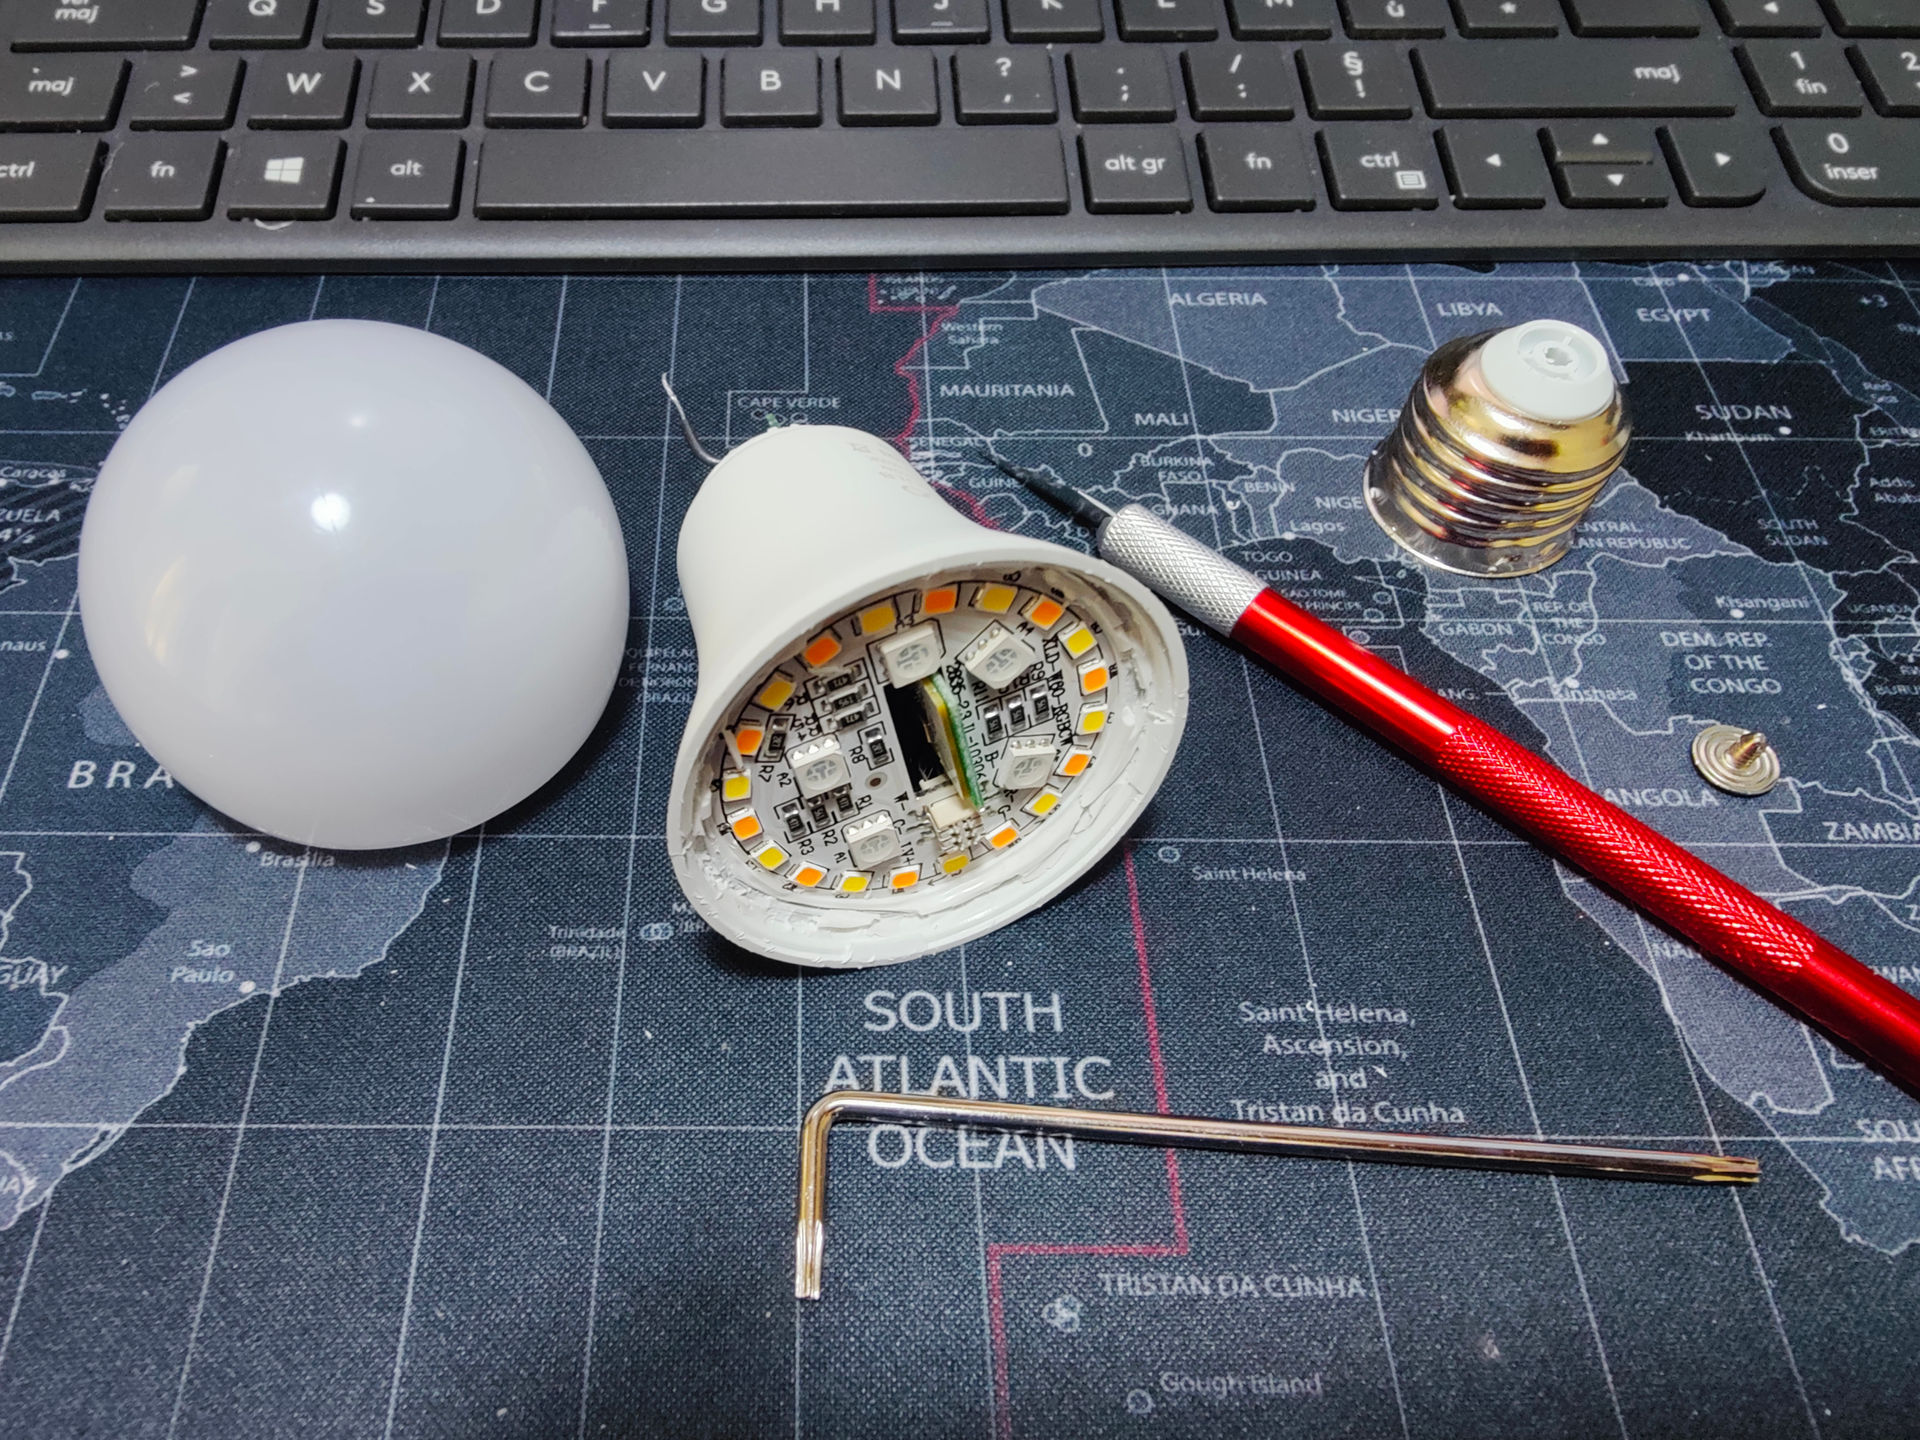
Let’s start opening it. First the foot contact, then the metal cap, the plastic bulb and then the internals.
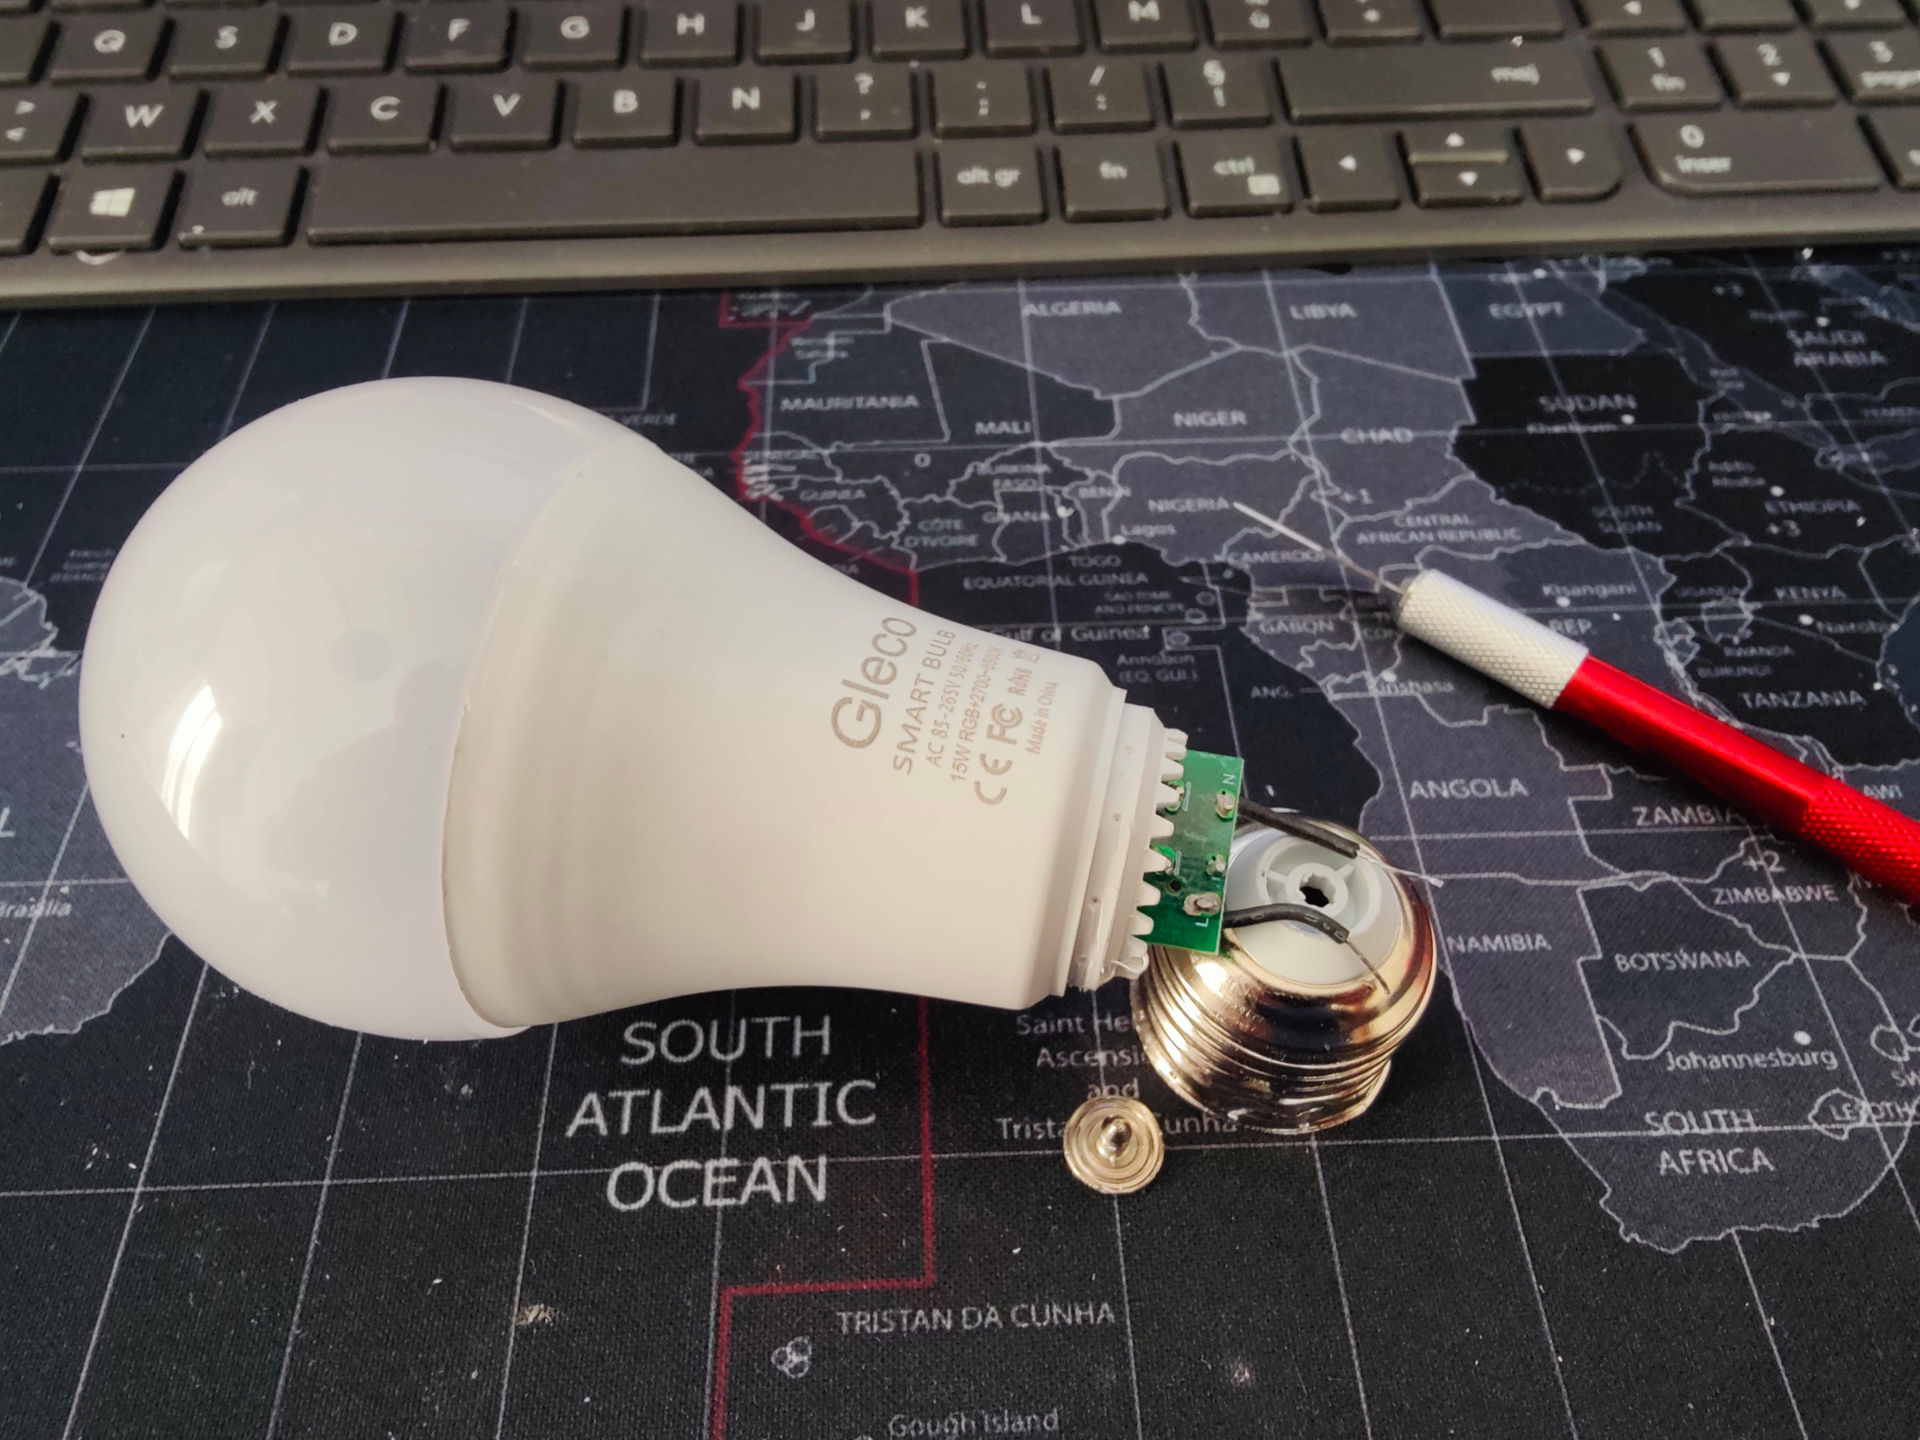
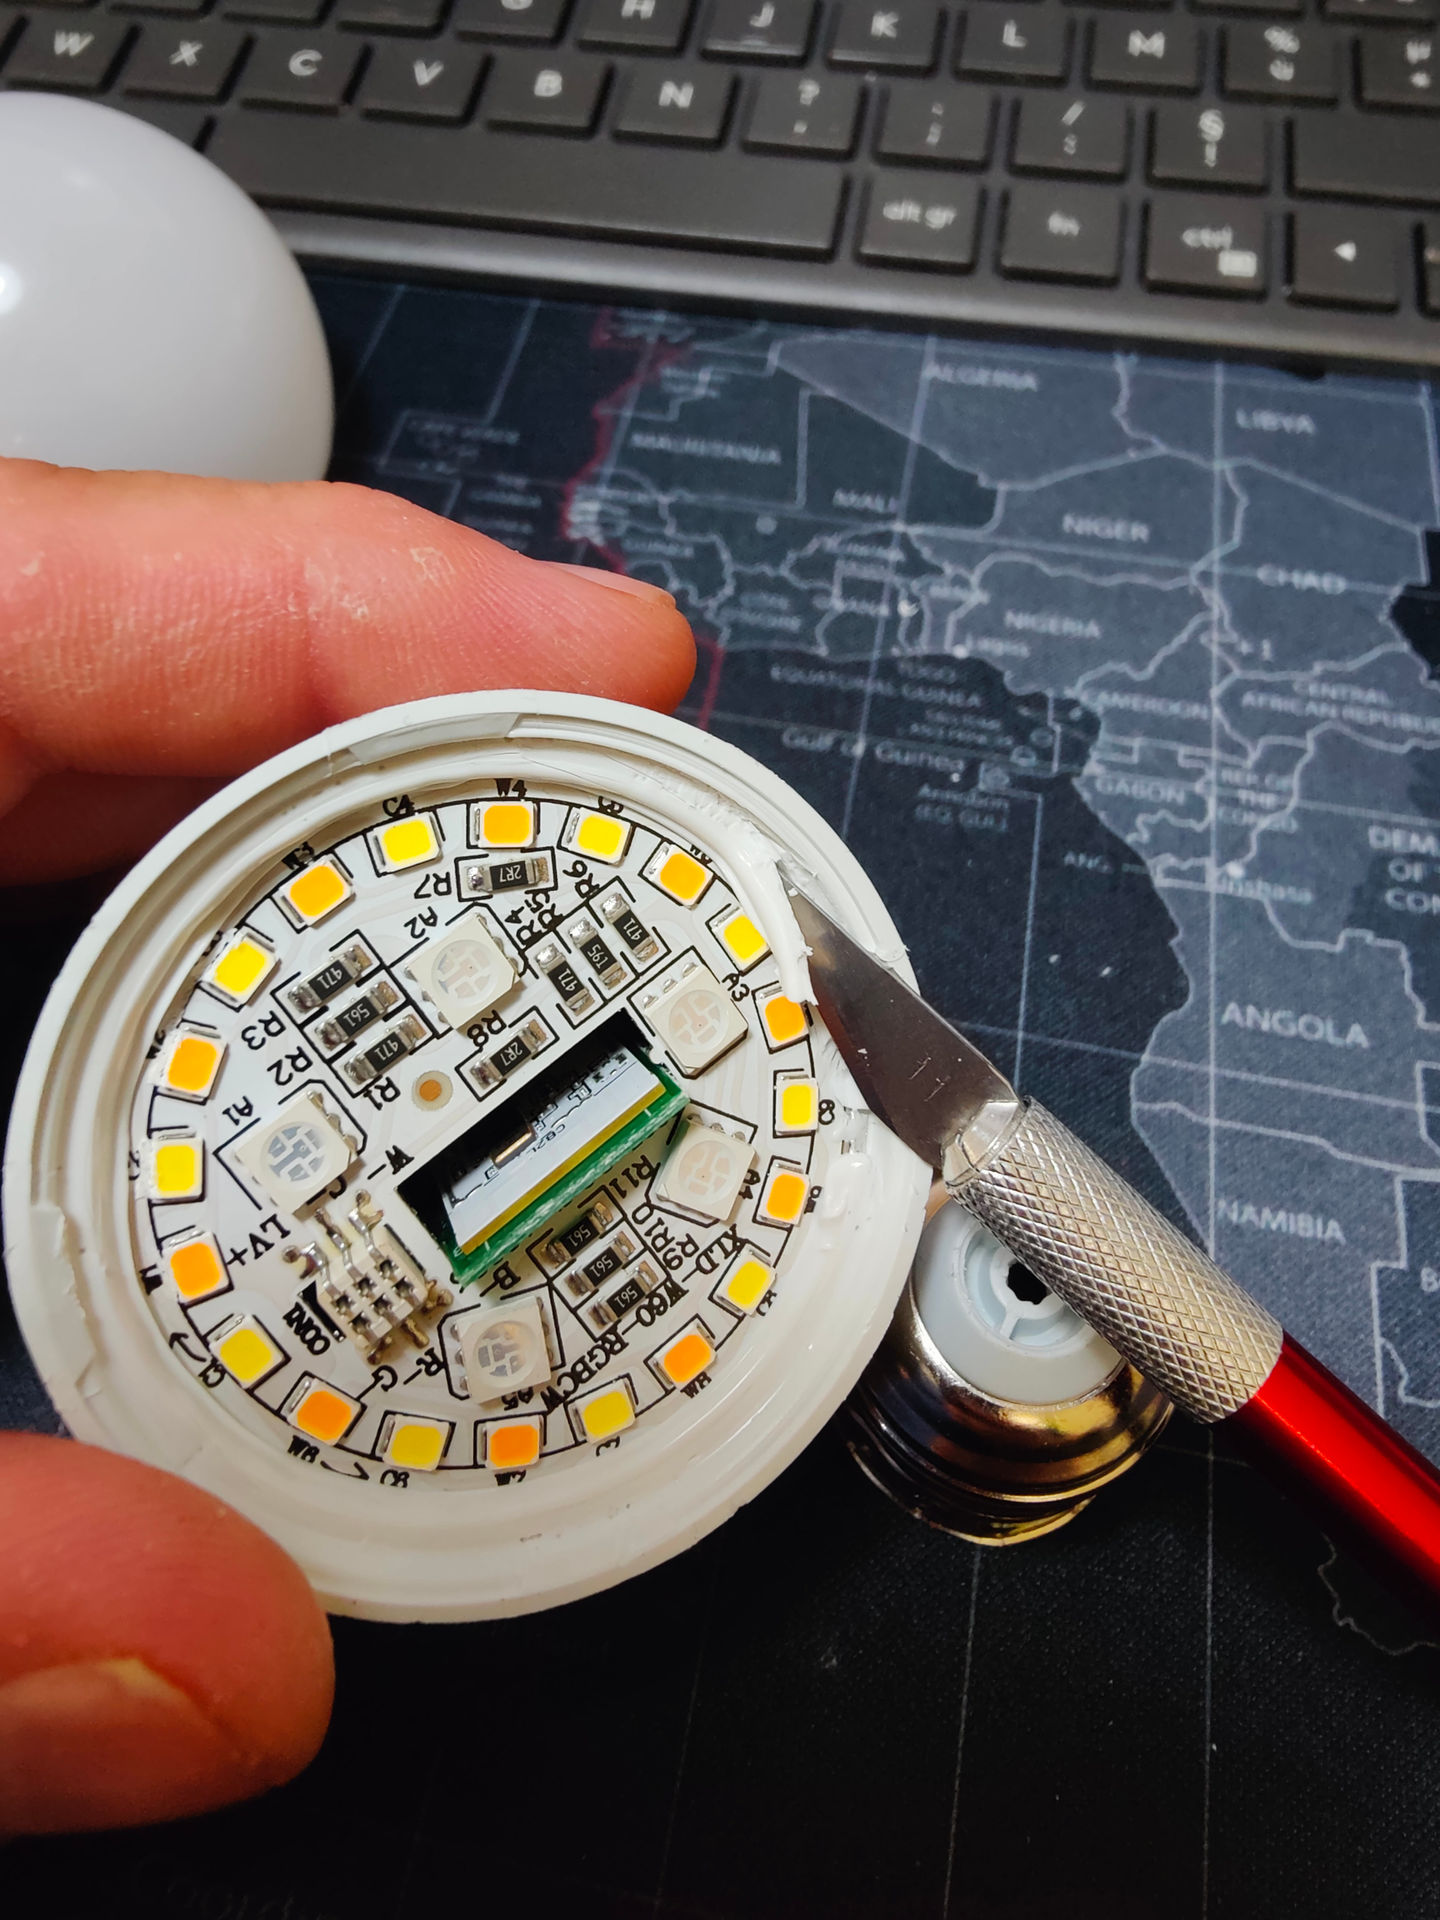
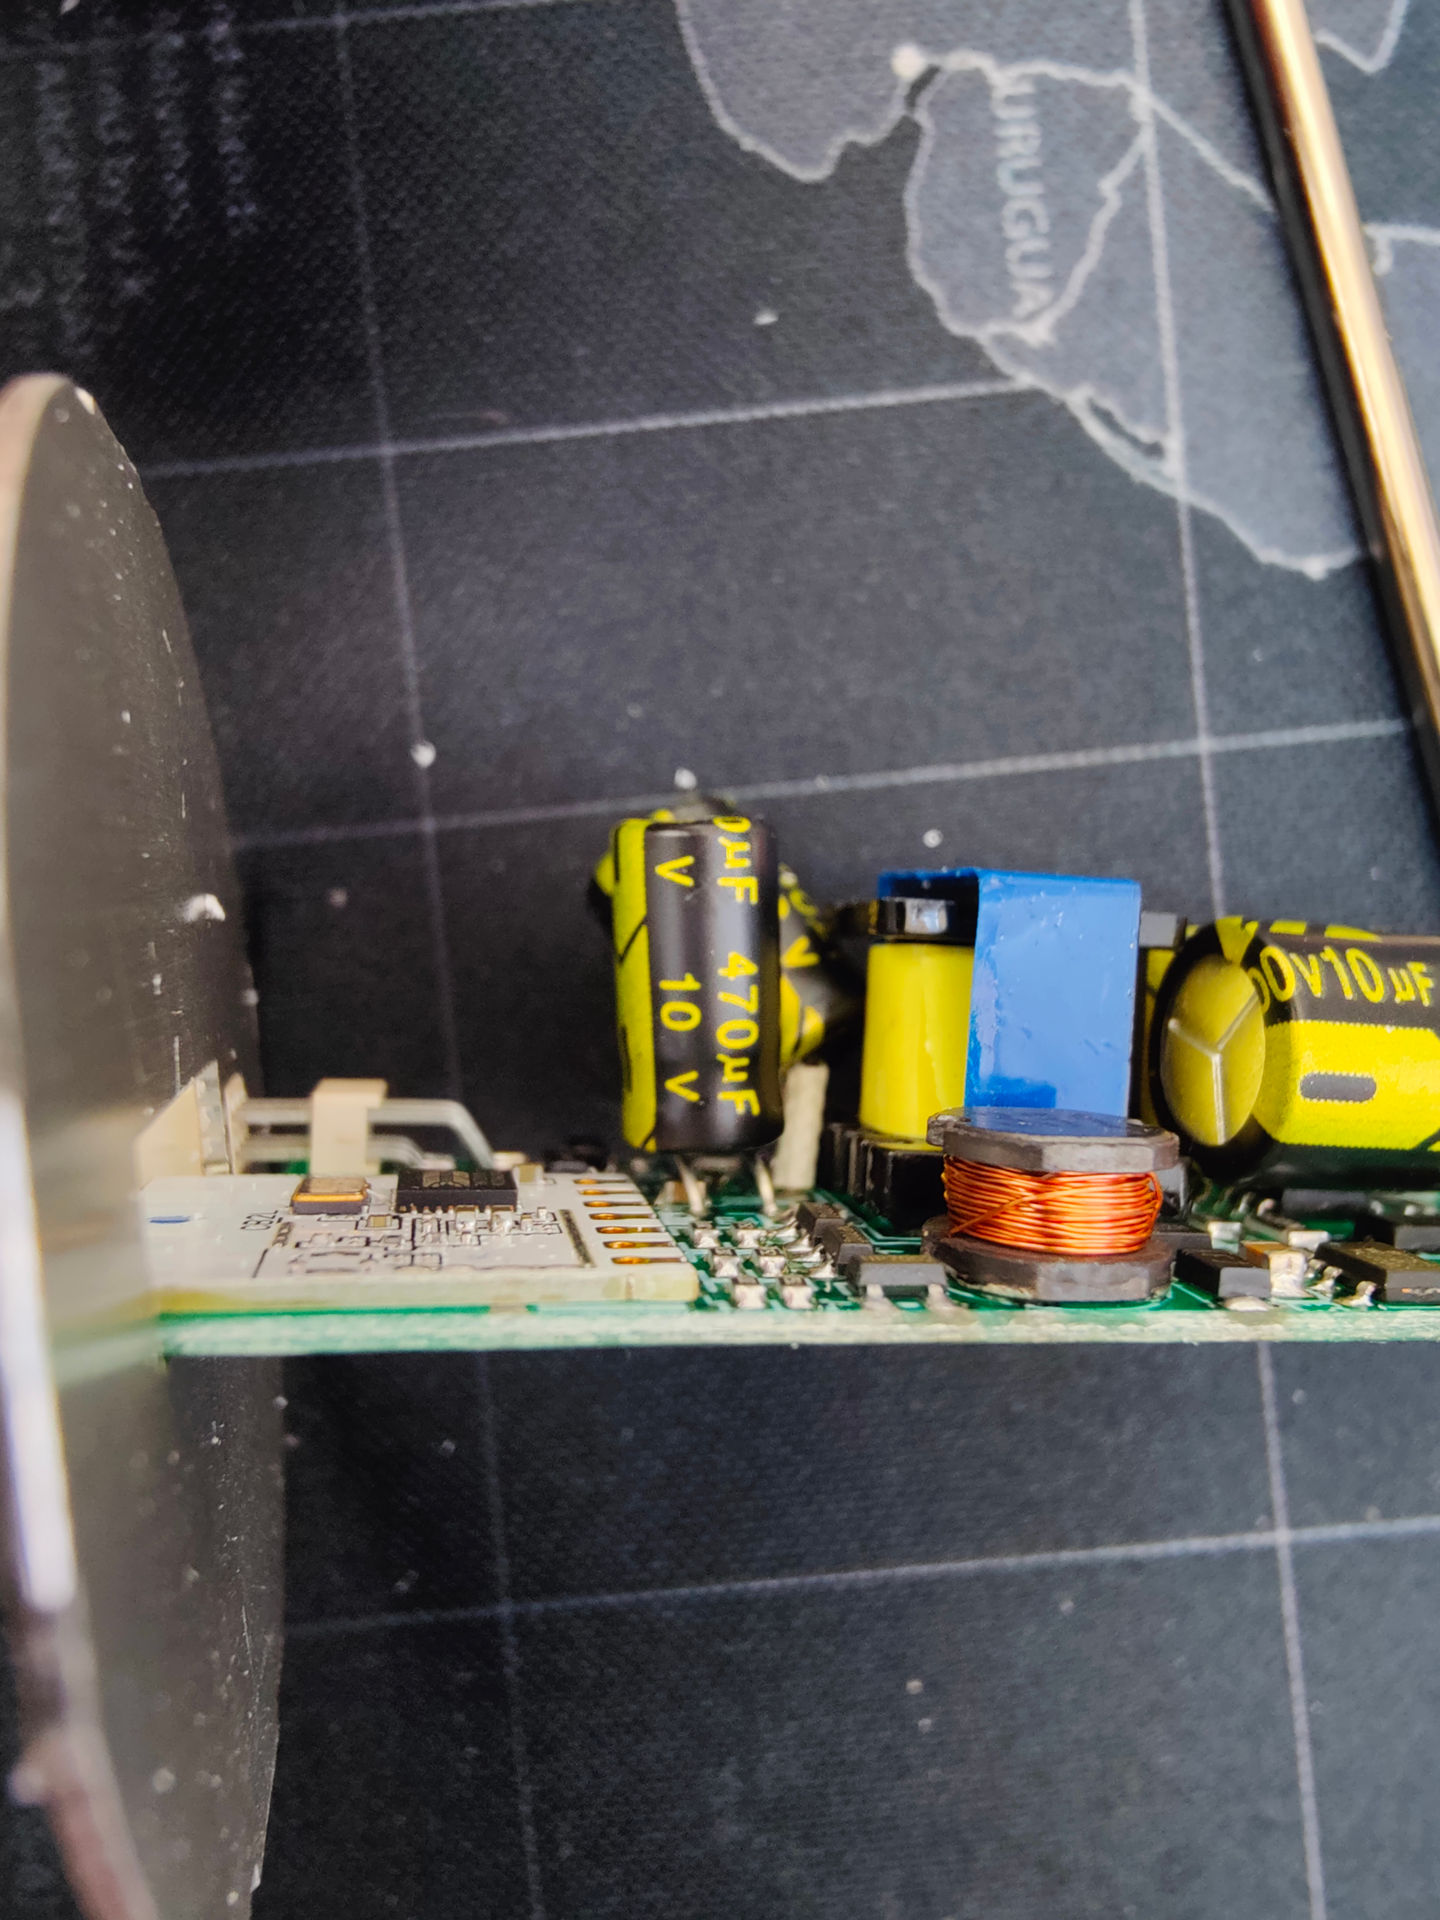
As you could probably tell my particular bulb is ran by a CB2L Module. The CPU of this module is a BK7231N chip. Also from the photos you can se that there’s no IC on the LED board, which means that in the open source firmware there’s no need to load any specific driver, all of the light controls is handled thru PWMs.
The module itself has 7 pins soldered to the motherboard. Ground and VCC allows the module to be powered and the other ones allow the control of the PWMs. From the spec sheet these are P8, P7, P6, P26 and P24.
The firmware i’m installing is called OpenBK7231T or simple OpenBeken.
Because i’m on linux I will be using the command line UART program even if they say it’s “obsolete”. To use this it’s as simple as cloning the repo and using uartprogram.
Next step is to download the latest release of OpenBeken. From the download links chose BK7231N and UART Flash binary.
The first dangerous part is the de-solder of the module from the motherboard. In order to do this low temperature solder must be applied to the 7 contacts and heated one after the other while gently prying the module from the motherboard with the scalpel. After the module is lifted the same procedure is being used to separate the module entirely.
I found this very interesting video about how to desolder a module:
On the back side of this module there are some pads. The one we are interested in are RX1, TX1 and CEN. Also we need to locate the ground pad GND and vcc 3V3. We need to temporary solder some wires on these pins. To do this the easiest method is to apply some flux on the pads then heat them with the iron and apply a tiny bit of solder on each pad. Then make sure the wires are saturated with solder. Once ready heat both the pad and the wire. There’s no need for a perfect solder just a connection to last for a few minutes while flashing.
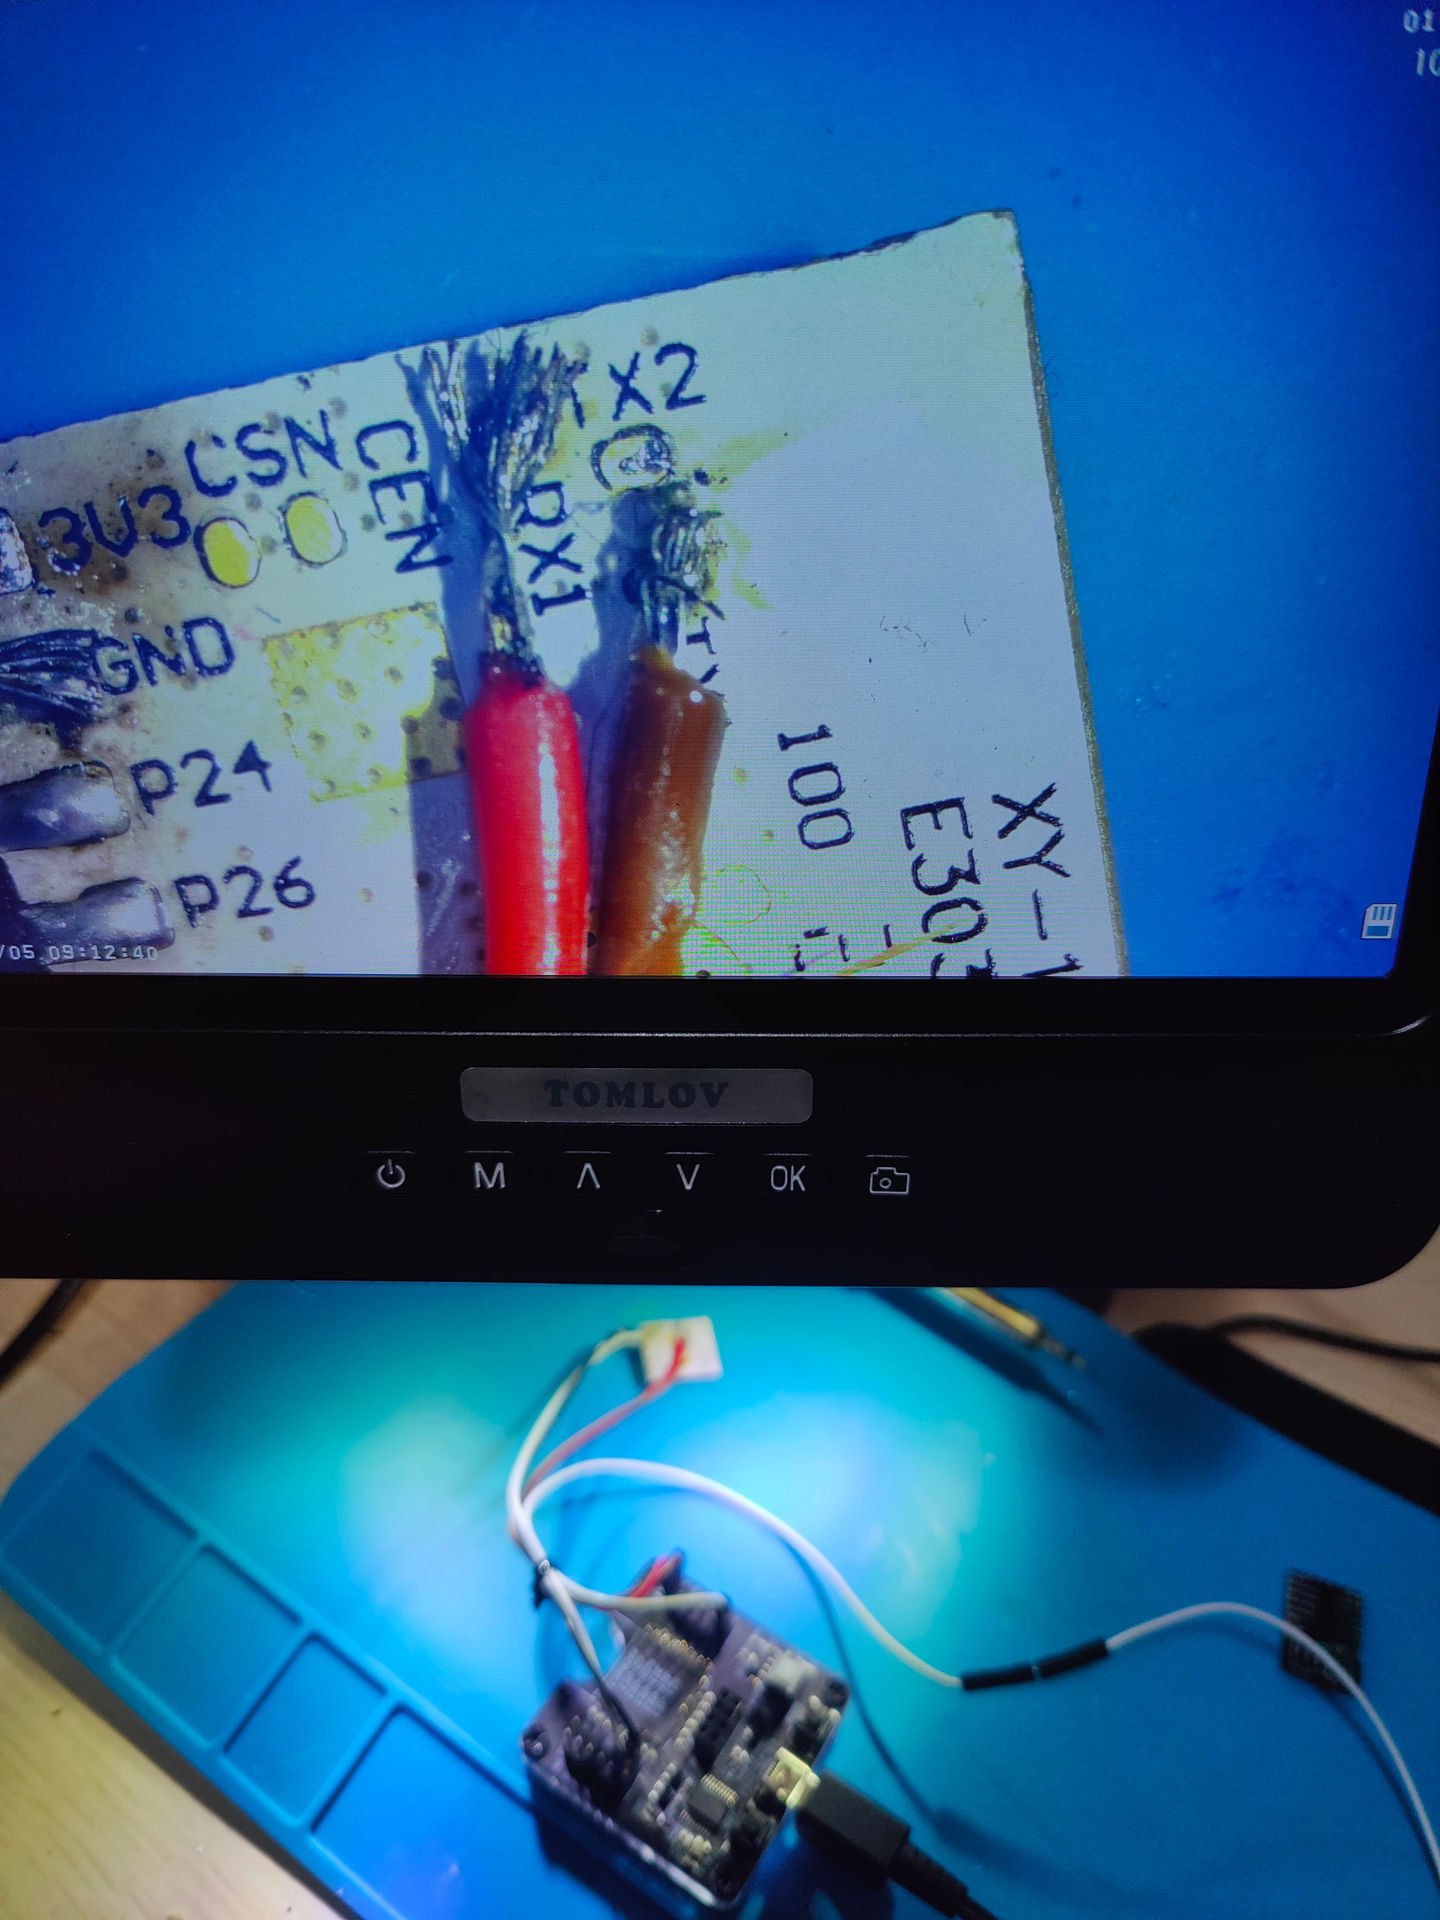
Now just check the wires GND goes to GND 3.3V goes to 3V3 RX goes to RX1 and TX goes to TX1. We also need a loose wire connected on one side to GND that we need to touch to CEN pad for les than a second once the uartprogram is launched. Connect to the computer and flash.
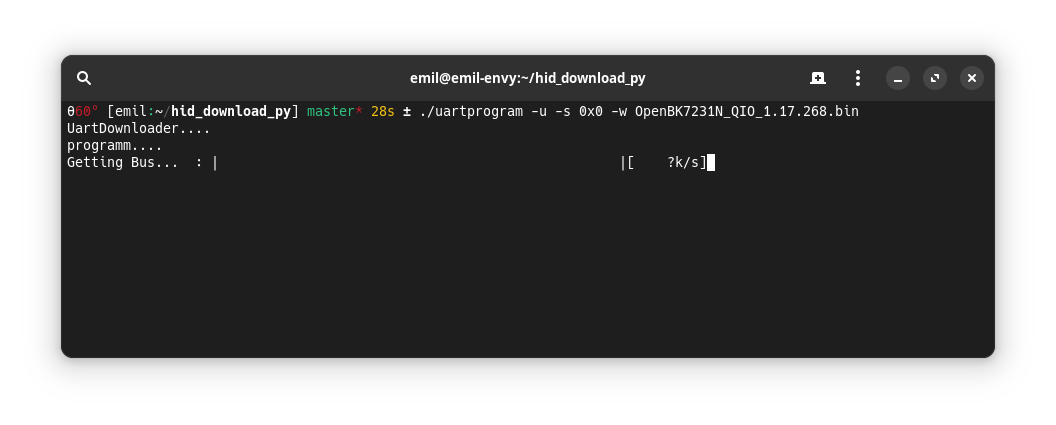

The command to run is:
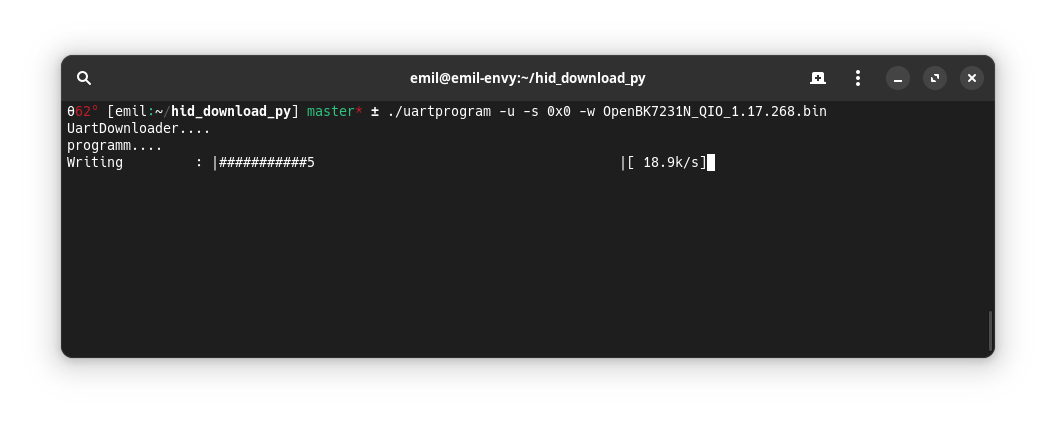
./uartprogram -u -s 0x0 -w OpenBK7231N_QIO_1.17.268.bin
Once you se “getting bus” you need to touch the CEN pad.
In a few seconds after the flashing is done we can se a new open Wifi network called OpenBK7231N_Some_Random_String. This means the flashing is successful and we can disconnect from the computer and resolder the module to the bulb’s motherboard.
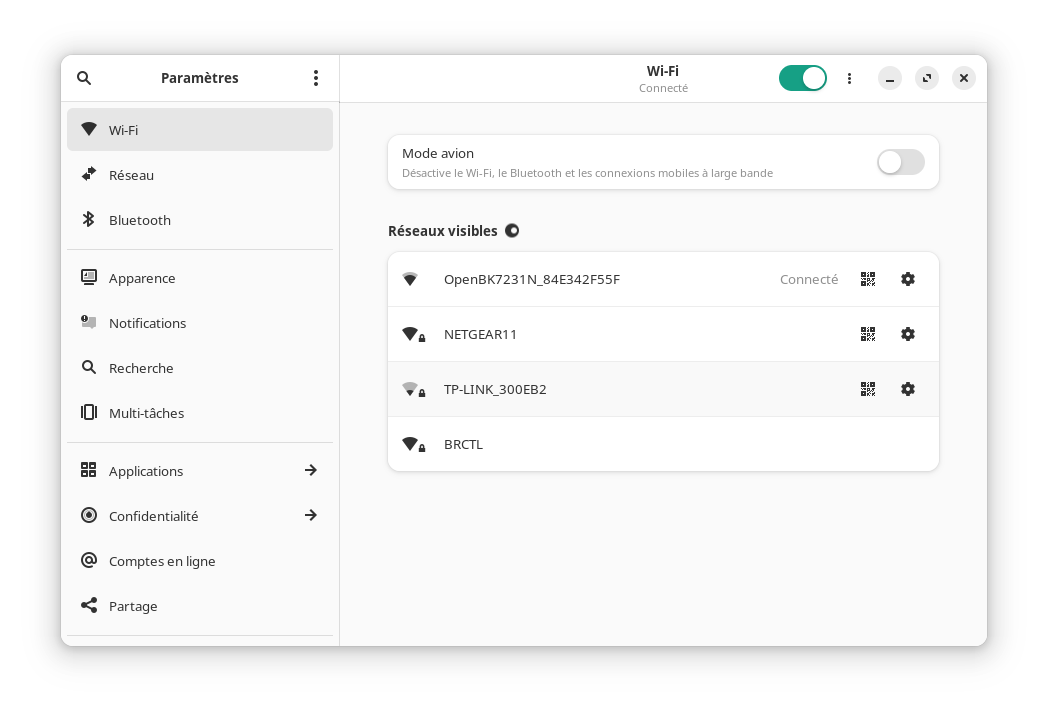
Once the bulb is reassembled we can connect it to power, wait a few seconds for the Wifi network to reappear and connect to it. Open a browser and go to http://192.168.4.1
From the main interface we go to config, configure module and set up the pins. P6 is of type PWM number 3, P7 is of type PWM number 2, P8 is of type PWM number 1, P24 is also of type PWM number 5 and P26 is of type PWM number 4.
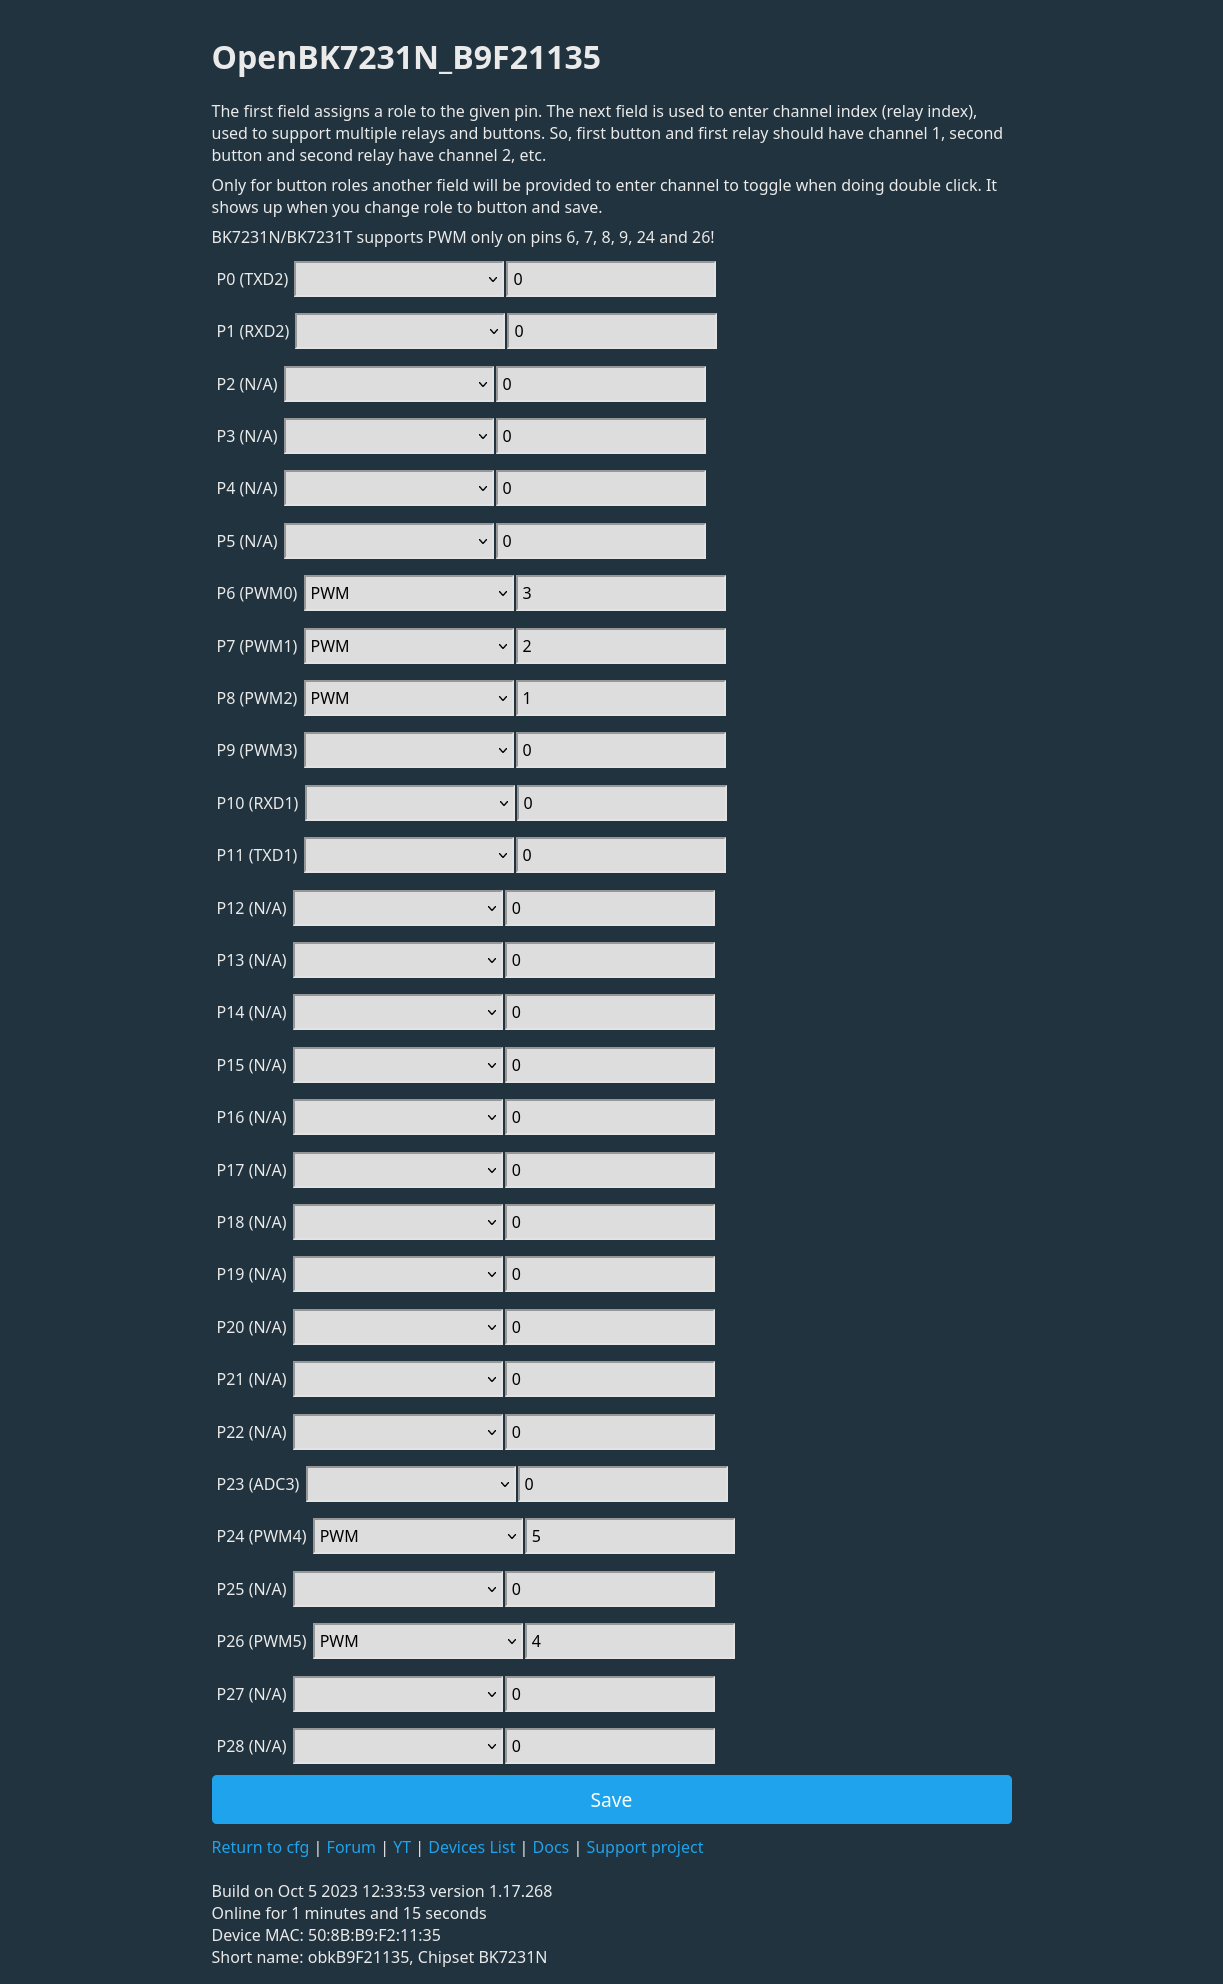
Click save, return to cfg and configure general/flags. Make sure flags 1,10and 12 are set. Click on submit, return to cfg, return to menu. Now you should be able to switch on the light. Click on Toggle Light.
You should now click on restart to make sure all the settings are well saved.
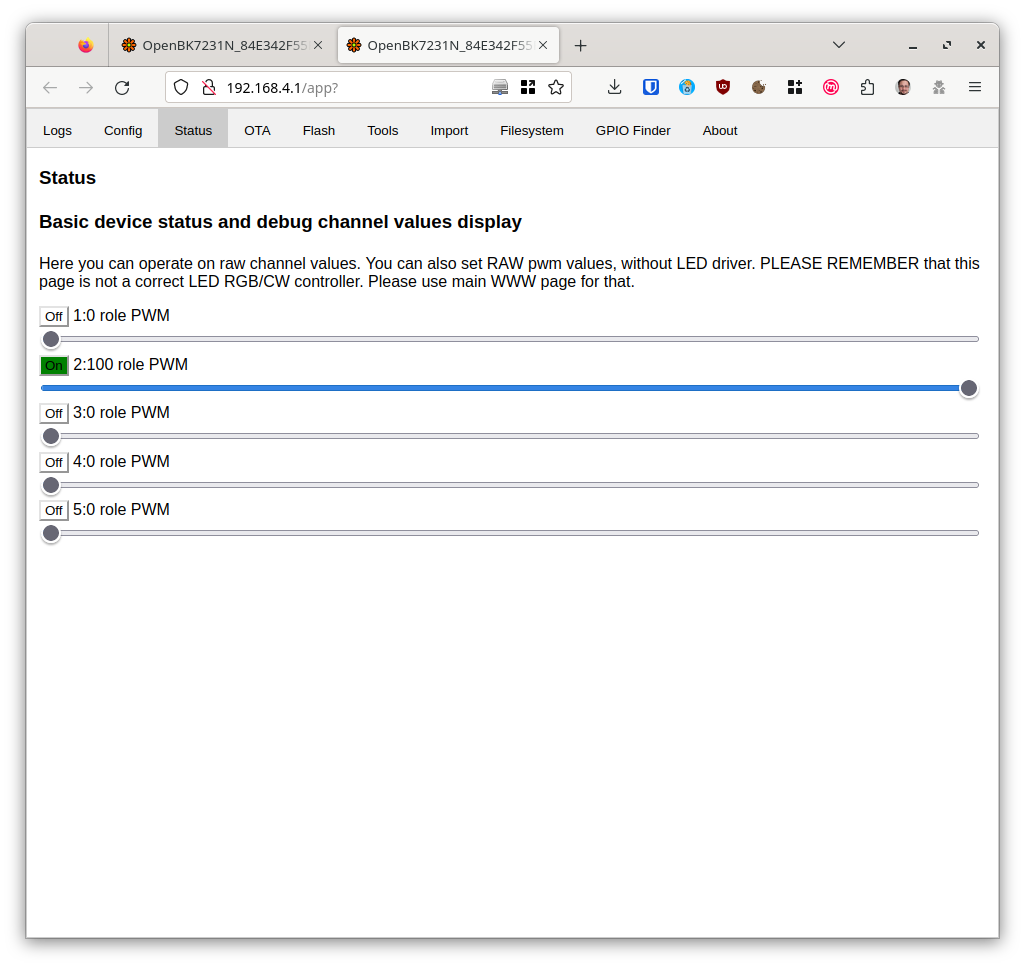
If for some reason the colors aren’t right, there’s a way to fix it. From the main menu launch the web appication and go to status. Switch on and off every channel. 1 should be Red, 2 should be Green, 3 should be Blue, 4 should be Cold White and 5 Worm White. If it does not match switch PWM numbers accordingly.
Se you soon!
Cool, but given the time involved, it seems like getting bulbs with firmware you like pre-installed might be a better idea, even if 10x the cost.
I always liked to build my own computers, tear down and fix stuff but never got so deep into electronics. This is a newly discovered hobby, I’m able to lose myself in soldering, flashing, compiling stuff. So… it probably depends on the perspective.
Really nice post , had exactly the same bulb except not branded gleco , found your topic on elektroda and was able to get it work right away with your template , thanks!